
Why Are Some Rocks Still Rough After Tumbling? (2026)
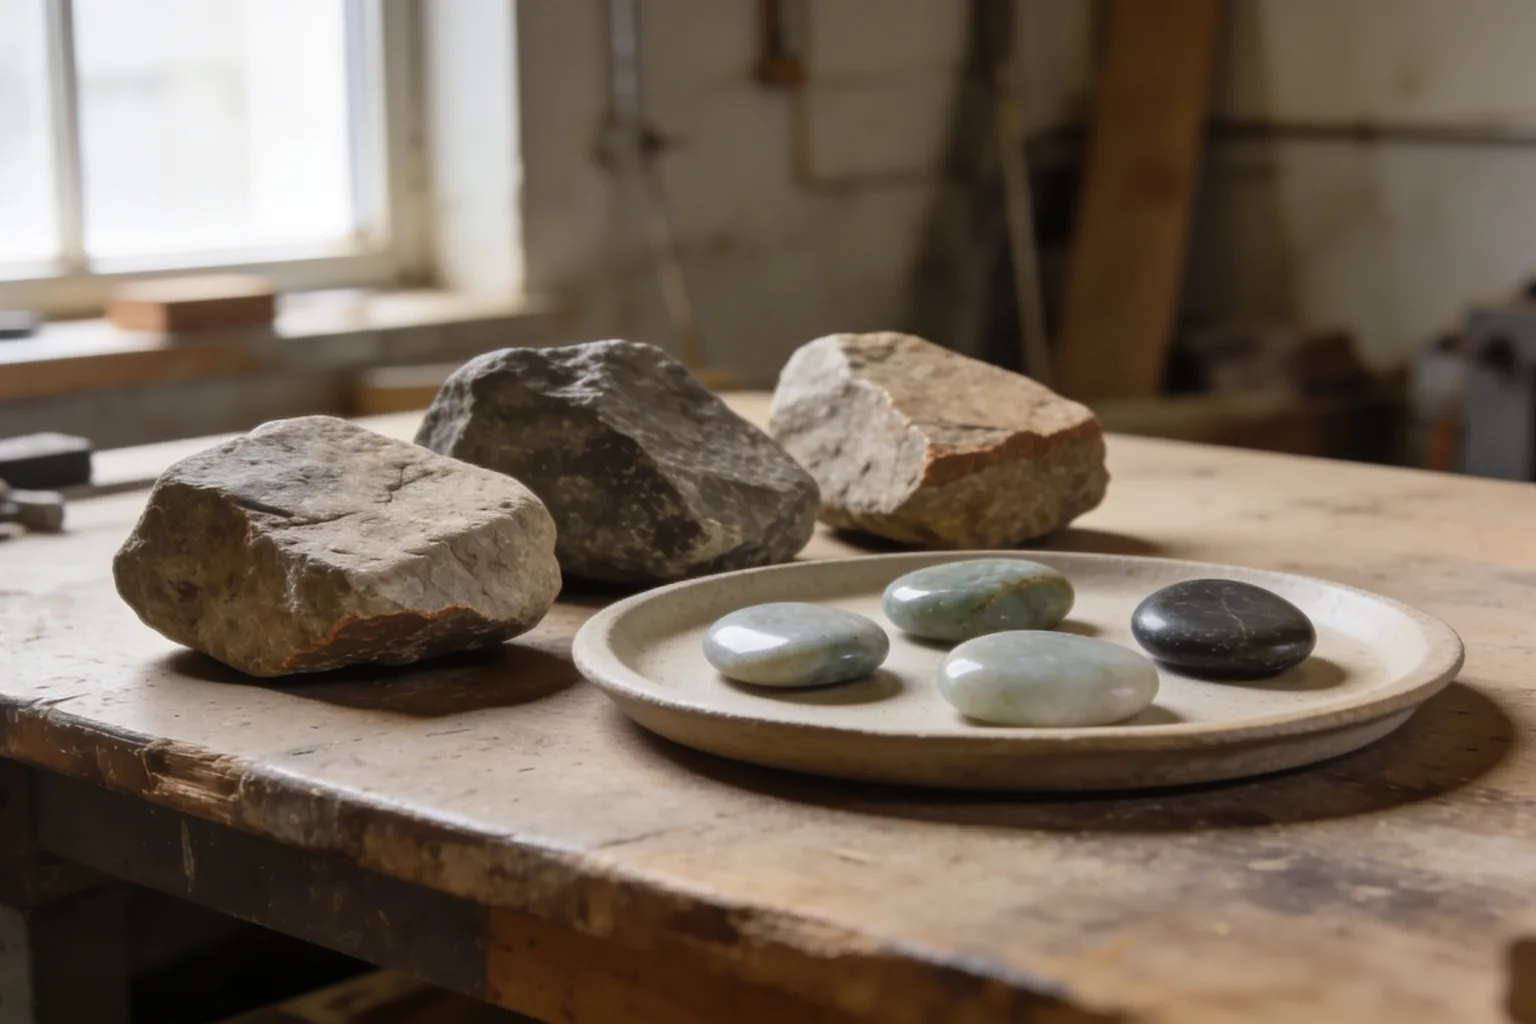
If a few rocks still feel rough, inspect and sort those stones before changing the whole batch. More coarse grinding can help unfinished edges, but cracks, pits, and gritty material may persist, so don’t send every stone into finer stages just because most are ready.
If you are considering a different tumbler, compare beginner models for their controls and included features, but remember that new equipment cannot correct flaws in the rocks. Compare beginner rock tumblers and kits.
Sort the stones before the next stage
Check each rock, remove problem pieces, and send only the stones that need shaping back to coarse grit.
Step 1 Clean and inspect each stone
- Rinse off slurry and use a clean toothbrush to remove dirt from crevices.
- Look and feel for angular edges, pits, cracks, and a gritty or sandy surface.
Step 2 Compare affected stones with the batch
- Check whether the roughness is limited to a few stones or appears across many.
- Notice whether affected stones have similar flaws or textures.
Step 3 Set problem stones aside
- Remove visibly fractured, shedding, or unsuitable stones before fine stages.
- Keep uncertain stones separate rather than assuming they will polish like the rest.
Step 4 Repeat shaping when it is still needed
- Return stones with unfinished edges to the tumbler’s coarse stage.
- Clean the stones, barrel, and lid thoroughly before continuing through finer stages in order.
Step 5 Check readiness before advancing
- Assess each stone on its own instead of moving the whole batch forward together.
- Hold back any stone that is not ready for the next stage.
Result
What should you do first?
Clean each affected stone, then check whether it has rough edges, pits, cracks, or a gritty texture. Return stones that simply need more shaping to the coarse stage, but set fractured or shedding stones aside. A smooth stone that looks dull has a different problem and does not automatically need more coarse grinding.
What do you need to inspect the stones?
You can sort a batch with a bright work light, a clean toothbrush, and separate clean containers. A hand lens helps reveal small cracks and pits, but you can start with your eyes and fingertips. Keep the tumbler’s manual nearby, because loading instructions vary by machine.
- Use good light to see surface texture and small flaws.
- Use an optional hand lens or magnifier to examine suspicious areas.
- Keep a clean toothbrush and containers ready for separate groups of stones.
- Check the manual for your tumbler’s loading guidance before restarting a batch.
If you are already considering different equipment, the listing for the KomeStone K1 Pro Tumbler specifies a programmable timer, three speeds, and a pause function. Those controls may help you manage planned runs, but they will not fix unsuitable rough, fractures, or grit carried into a later stage.
Our Top Picks
How do you diagnose and handle rough stones?
Work through the stones individually before restarting anything. Separate unfinished shaping from damage or material that sheds particles, then decide which stones should continue. A shedding stone can release particles that scratch others, so sorting now can protect the finer stages.
Step 1: Clean and inspect each stone
Rinse away slurry and brush off any dirt you can see. Feel for corners and rough edges, then look for pits, cracks, or a sandy surface. A rough edge may mean the stone needs more shaping; a pit or crack points to a flaw that extra polishing may not remove.
Step 2: Compare the affected stones with the rest
Check whether only a few stones remain rough or whether the same issue appears throughout the batch. If just a few stand out, compare their texture and condition with stones that look ready. A stone with a gritty surface may shed particles, so pay attention to whether the problem stones share that texture.
Step 3: Set damaged or unsuitable stones aside
Remove stones with obvious fractures, loose grains, or surfaces that keep breaking down. RockTumbler’s guidance says fractures can trap grit or break during later stages, while shedding particles can act like coarse grit. Keep those stones out of the finer stages to protect the rest of the batch.
Step 4: Return unfinished shaping to coarse grit
If a stone is sound but still has edges or surface irregularities you want to remove, return it to the coarse stage. Then clean the stones, barrel, and lid thoroughly before moving through the finer stages in order. Each stage prepares the surface for the next; adding polish cannot replace shaping that is still unfinished.
Step 5: Advance stones only when they are ready
Check each stone before moving it forward, and hold back the ones that still need work. Rockhound Resource notes that stones in the same batch may not be ready to advance at the same time. Follow your tumbler’s instructions for loading, since the evidence here does not establish one fill amount for every machine.
What mistakes can make rough results worse?
Don’t move every stone forward just because most of the batch looks ready. Avoid trying to polish away cracks, pits, or gritty material, and clean carefully between grit stages so coarser particles do not travel forward. Match your next step to what you can see and feel on each stone.
- Moving the whole batch together: sort stones individually and hold back those that need more shaping.
- Using fine grit or polish to fix pits or fractures: set visibly flawed stones aside instead.
- Skipping cleanup between stages: brush off the stones and clean the barrel and lid before changing grit.
- Expecting every type of rock to finish alike: consider known differences in hardness and texture, and separate gritty, fractured, or visibly breaking-down stones.
What does each rough-surface symptom mean?
Match the symptom to the stone before deciding what to run next. Angular or rough edges can point to unfinished shaping, while pits and cracks may remain because of a flaw in the stone. Widespread scratches suggest shedding material or grit contamination. Smooth but dull stones call for later-stage troubleshooting, not an automatic return to coarse grit.
A few stones still have rough edges
Those stones may need more shaping, especially if the rest of the batch is smooth. Check that they are not cracked or shedding, then return suitable stones to the coarse stage and complete the finer stages in order. Do not assume that an extra fine stage will remove unfinished edges.
Pitted or cracked spots remain
Pits can come from inclusions or material wearing away, and cracks can trap grit or break during tumbling. Inspect the affected area and set the stone aside if it is visibly fractured or continues to shed. More time may not remove a flaw without changing the stone’s shape.
Gritty grains or scratches show up across the batch
A shedding stone or leftover coarse grit may be scratching other rocks. Sort out any rough, crumbling pieces, then clean the stones and tumbler thoroughly before continuing. If the stones have already entered fine stages, do not advance them until the source of the grit is addressed.
The stones feel smooth but look dull
Smoothness and shine are different results. If the surface has no rough edges or pits but lacks gloss, check the later stages and cleaning rather than sending the stones straight back to coarse grit. A dull finish alone does not show that shaping is unfinished.
Related guides
- Rock tumbler barrel capacity vs rock weight 2026 — Rock tumbler barrel capacity vs rock weight: learn what the label means, how it differs from fill volume and rock-only weight, and what to verify in the manual.
- Blue Marble 2 lb tumbler review 2026 — This Blue Marble 2 lb tumbler review explains the Professional kit’s controls, included supplies, capacity caveat, and who may prefer a different setup.
- Why Won't My Rock Tumbler Barrel Turn 2026 — Why won't my rock tumbler barrel turn? Check power, seating, load and drive symptoms safely, then use your exact model's manual before repairs.
Frequently asked questions
Should I put rough rocks back in the coarse grit stage?
Yes, if a stone is sound but still has edges or surface irregularities that need shaping. Clean it first, then return it to the coarse stage and complete the finer stages in order. Set aside stones that are cracked, pitted, or shedding instead of trying to polish those flaws away.
Can some rocks stay rough because of fractures or their natural texture?
Yes. Fractures may trap grit or break during tumbling, and gritty or shedding material can release particles that scratch the batch. Pits and uneven textures may also persist because of flaws in the stone. Set visibly unsuitable or uncertain stones aside rather than assuming more tumbling will solve them.
Should I hold back individual rocks when the rest of the batch is ready?
Yes. Stones in one batch may need different amounts of shaping, so judge them individually. Hold back any rock that still has rough edges, cracks, or pits, and advance only stones that are ready. This prevents an unfinished or shedding stone from affecting the rest.
What is the difference between rough rocks and smooth rocks that are not shiny?
Rough rocks still have edges, uneven surfaces, or pits that you can see or feel. Smooth but dull rocks have a finished surface without the gloss you want. Rough stones may need more shaping; smooth, matte stones need you to check the later stages and cleaning instead.