
Why Are Rocks Bruising in a Tumbler 2026
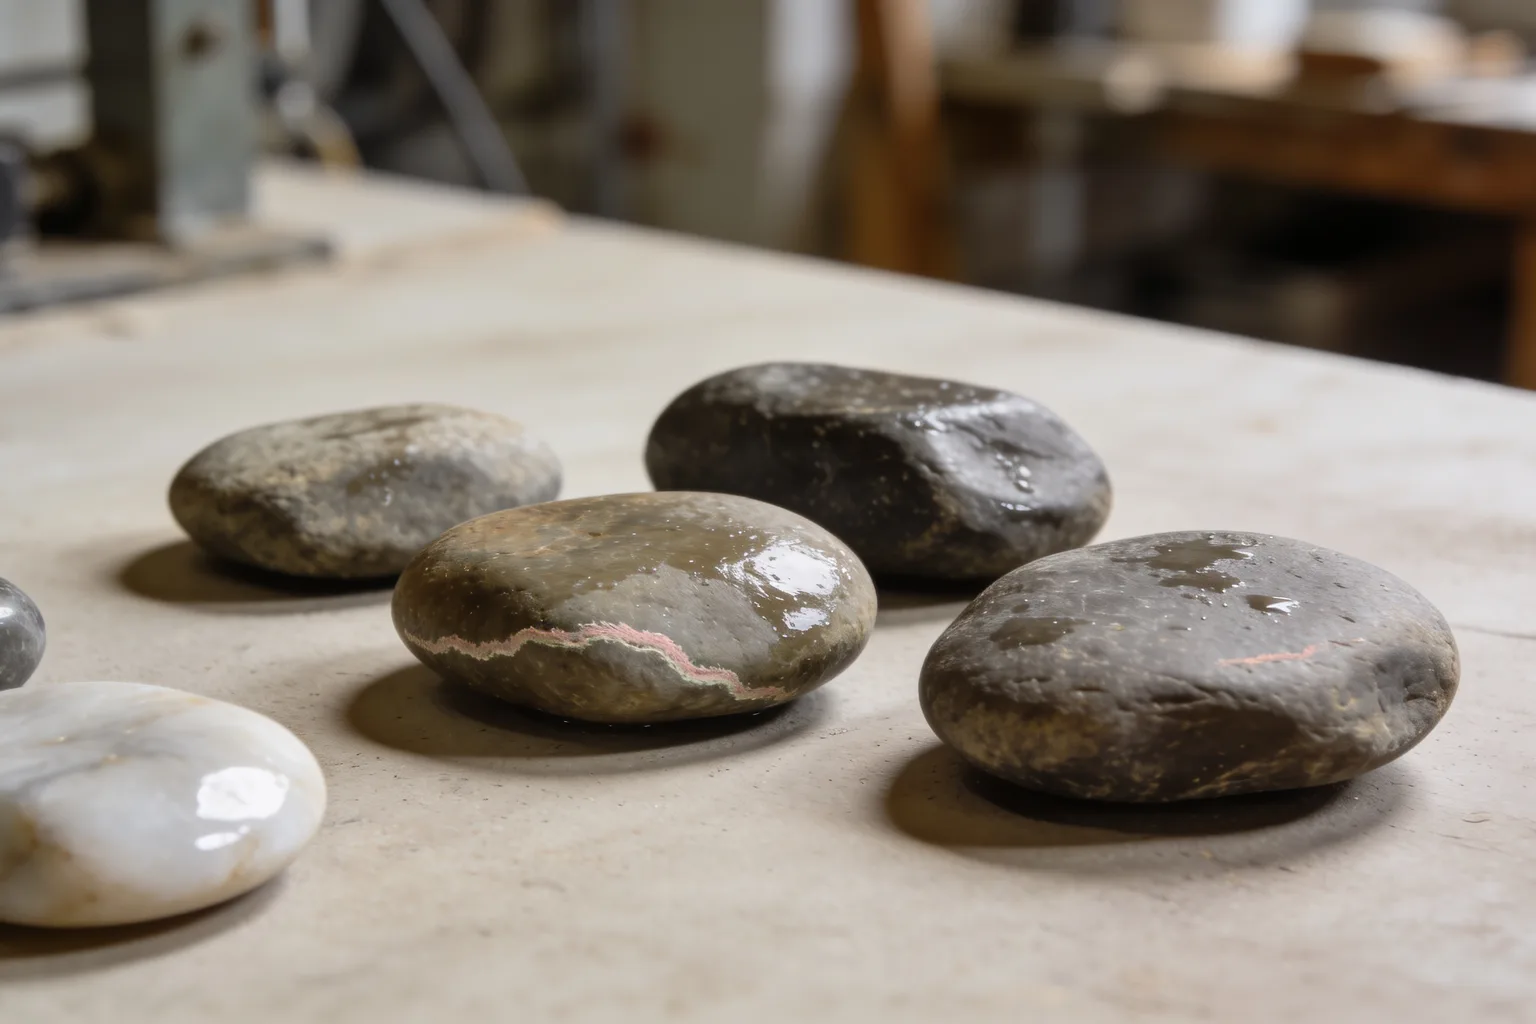
Rinse and inspect pale, frosty marks before moving stones to finer grit. Better cushioning can reduce further impacts, but it cannot repair fractures already at the surface.
If you are weighing a different machine, compare models and formats first; a new tumbler alone will not cure bruising. Compare electric rock tumblers for hobbyists.
Check the damage, then cushion the batch
Diagnose the marks before changing the load, and use your tumbler’s instructions for its limits.
Step 1 Clean and inspect the stones
- Rinse off grit and slurry, then dry the stones.
- Use a bright light to look for pale, frosty marks, especially on tips and edges.
Step 2 Check whether the damage was already there
- Compare the stones with photos taken before tumbling, if you have them.
- Look for fractures or weathered surfaces that may have come from the original rock.
Step 3 Add cushioning between the rocks
- Add appropriately sized small rocks or clean ceramic cylinders to fill gaps.
- Use a mix of sizes where possible, so smaller pieces fit between larger stones.
Step 4 Check the tumbler’s loading guidance
- Consult the instructions for your exact model before adjusting the load or speed.
- Avoid guessing at a universal fill amount or loading limit.
Step 5 Inspect again before finer grit
- Check the stones after the next coarse-grit run.
- Return surface-bruised stones to coarse grit only if they can tolerate more material removal.
Result
What does tumbler bruising look like, and what should I change first?
Bruising is a cluster of tiny fractures caused by impact, not simply a dull finish. Pale marks at tips and edges can be a clue, especially on quartz or obsidian, but color alone cannot confirm the cause. Clean and inspect the stones, then improve cushioning before continuing the batch. Later fine grit or polish will not repair fractures that remain at the surface.
What do I need to inspect the stones and adjust the load?
Gather a bright light, water, a towel, small rocks or ceramic media, and the instructions for your tumbler. Before-tumbling photos can help you see whether a mark is new. There is no universal media amount or rock-only loading limit established here, so use the guidance for your exact model.
- Bright light for examining pale marks and cracks.
- Clean water and a towel for removing slurry before inspection.
- Small rocks or clean ceramic cylinders to fill gaps and cushion impacts.
- Your tumbler’s instructions for its loading and operating guidance.
- Before-tumbling photos, if available, to compare the stones’ surfaces.
If you want separate batches while you investigate, the Tumble-Bee TB-22-KIT has two barrels that its listing says can be used for different materials or different grits at once. The maker positions it for small-scale tumbling. Separate barrels do not prevent bruising, so cushioning and the model’s loading guidance still matter.
Our Top Picks
How can I confirm bruising and reduce further damage?
Inspect before changing anything. Then add cushioning and check your tumbler’s instructions rather than guessing at a fill amount or speed. Small rocks create more contact points that share impact forces; ceramic cylinders can fill gaps and cushion impacts.
For help setting up a beginner batch, see how to start a first rock tumbler batch. Follow your exact tumbler’s instructions when choosing its load.
- Clean and inspect the stones. Rinse off grit and slurry, dry them, and look under a bright light for pale, frosty marks, especially on tips and edges.
- Check whether the damage was already there. Compare with before-tumbling photos, if available, and look for existing cracks or weathered surfaces. Without a comparison, you may not be able to tell when the damage began.
- Add cushioning between the rocks. Use appropriately sized small rocks or clean ceramic cylinders to fill gaps. Small rocks add contact points that help distribute impact forces; ceramic cylinders can fill gaps and cushion impacts.
- Check your tumbler’s loading guidance. Follow the instructions for your exact model before changing its load or speed.
- Inspect again before finer grit. If marks remain, consider another coarse-grit run only when the stone can tolerate more material being removed. Set aside pieces with severe fractures rather than assuming polishing will fix them.
Which troubleshooting shortcuts can lead to the wrong fix?
Do not treat every pale or rough patch as fresh impact damage. Check where the marks sit, compare with earlier photos, and consider whether the stone had fractures before tumbling. Make one reasoned load adjustment at a time, using your model’s instructions rather than a universal fill or speed rule.
- Assuming color alone proves bruising. Inspect the surface and compare with earlier photos when possible.
- Sending visibly bruised stones straight to polish. Polish will not erase fractures that remain at the surface.
- Changing speed, stone mix, and fill all at once. Follow the exact tumbler’s instructions and make a focused adjustment.
- Guessing a media percentage or loading limit. The right guidance depends on the specific tumbler, and no universal amount is established here.
What if the marks do not look like fresh impact bruising?
The location and timing of the marks can help narrow the cause, but they do not prove it. Natural fractures, exposed weaknesses, or ordinary surface roughness can look different from new impact marks. If the surface is generally rough or dull rather than locally marked, use a separate diagnosis such as why some rocks remain rough after tumbling.
Pale marks appear on tips or edges
Localized whitish marks at tips and edges can indicate impact bruising, particularly on quartz or obsidian. Improve cushioning before the next run and inspect again afterward. The marks are a clue, not a diagnosis by color alone.
The whole surface looks frosty or rough
A widespread frosty or rough surface is not automatically impact bruising. Check whether the texture existed before tumbling and whether it is uniform or concentrated at impact points. If the stone remains rough overall, use the separate roughness guide rather than assuming cushioning is the only fix.
Cracks were visible before tumbling
The tumbler may not have created those fractures. Stream- and beach-rounded stones can have tiny natural surface fractures from impacts outdoors, as described in guidance on stream- and beach-rounded rough. Set aside severely fractured pieces if you do not want to risk spending more time and grit on them.
Bruising returns after you add cushioning
First confirm that the added small rocks or ceramic cylinders fit the gaps and that you followed your tumbler’s loading instructions. If marks persist, inspect the stones again and consider whether old fractures have become more visible. Do not assume more media or a different speed is right without model-specific guidance.
Related guides
- Choosing a Rock Tumbler by Kit Completeness (2026) · Choosing a rock tumbler by kit completeness means checking stage supplies, rough-rock weight, cleanup tools, instructions, and refills for the exact bundle.
- How to Use a Rock Tumbler Kit: 2026 Guide · Learn how to use a rock tumbler kit: prepare sound rocks, follow each grit stage, clean between stages, and use your model’s instructions for exact settings.
- Best rock tumbler kits with rough rocks 2026 · Best rock tumbler kits with rough rocks: compare included stone amounts, grit, controls, and kit gaps to choose a practical setup for your first batch.
Frequently asked questions
Can bruised rocks still be polished?
Sometimes, if the bruises are limited to the surface and you can safely grind that layer away. Doing so removes stone, and the amount needed varies. Fine grit and polish will not repair fractures that remain at the surface, so inspect the stones before moving them forward.
Are white marks on quartz always bruising?
No. Whitish marks at tips or edges can be impact bruising, but color alone is not enough to tell. Rinse away grit, inspect the surface under a bright light, and compare with before-tumbling photos if you have them. Quartz can also have fractures that were already present.
Can ceramic media prevent rocks from bruising?
Ceramic cylinders can fill gaps and cushion impacts, which may reduce further bruising. Small rocks can also add contact points that spread impact forces. Neither option repairs existing fractures, and the right loading guidance depends on your exact tumbler.
Can rocks be bruised before they go in the tumbler?
Yes. Rocks from streams or beaches can already have tiny surface fractures from natural impacts. Compare with photos taken before tumbling when possible. If there are no earlier photos, you may not be able to determine whether a particular mark began outdoors or in the barrel.