
How to start a first rock tumbler batch 2026
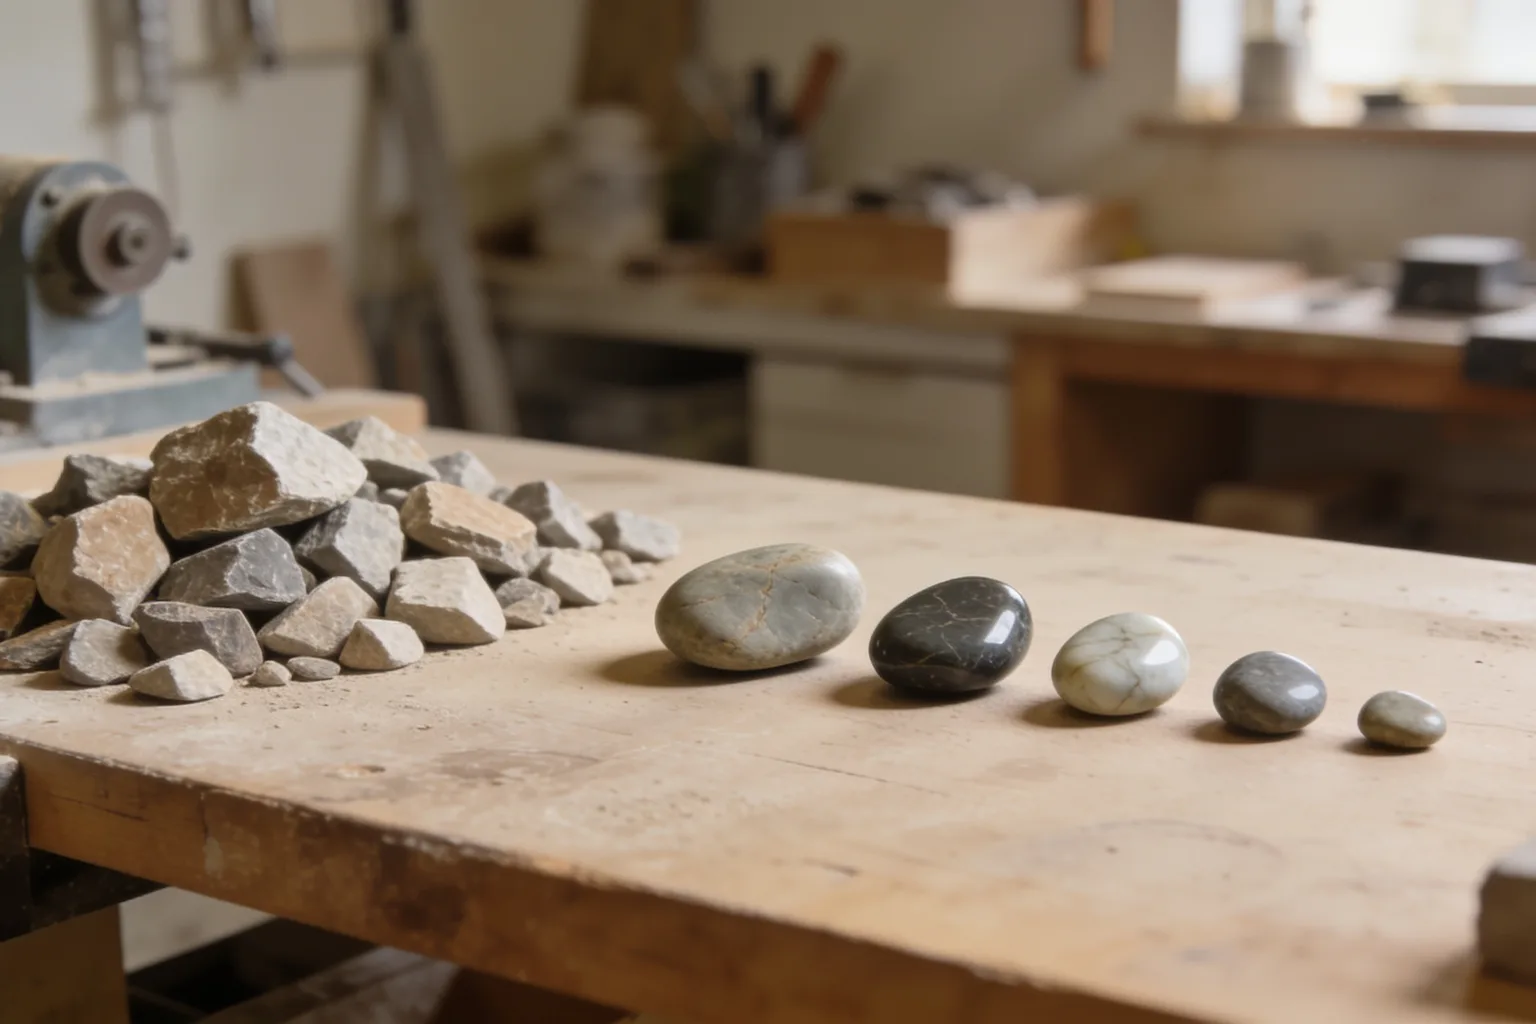
Sort sound, similar-hardness rocks, then use your tumbler’s own recipe and move stages only after inspecting dry stones. That helps prevent coarse scratches and unfinished surfaces from spoiling later stages.
If you still need a machine or want to compare starter kits before your first batch, see our beginner rock tumbler roundup.
Start your first batch, one checkpoint at a time
Use your tumbler’s own instructions for the measurements, then let the stones tell you when they are ready for the next stage.
Step 1 Sort and inspect the rough
- Choose durable stones that are close in hardness; use a suitable mix of sizes for your tumbler’s instructions.
- Set aside pieces with deep cracks, pores, flaky surfaces, or grains that rub off easily.
Step 2 Load and start the tumbler
- Check the manual for the correct load, water level, grit amount, and settings for your model.
- Clean the lid and rim, seal the barrel, and check for leaks or unusual movement after starting.
Step 3 Inspect coarse-grind progress
- Open the barrel at the interval specified by the instructions and rinse the stones over a bucket.
- Dry a few stones to check their shape, pits, cracks, and roughness before deciding what to do next.
Step 4 Clean and move through finer stages
- Scrub the stones, media, barrel, and lid before changing grit.
- Use the next specified grit only when the stones are ready for that stage.
Step 5 Polish and assess the finish
- Use the polish and run instructions for your tumbler.
- Clean and dry stones before judging their finish.
Result
What is the basic process for a first batch?
For a first batch, sort durable rocks of similar hardness, load your tumbler using its manual, then work through the specified grit sequence in order. Check clean, dry stones before changing stages; coarse grinding often needs another cycle. A week is a useful check-in, not a deadline. The beginner tumbler roundup helps you compare equipment if you still need a machine.
What do you need before loading?
Get the tumbler manual, compatible rough, and the specified grits and polish ready before loading. You will also need any filler or media the instructions call for, plus a measuring tool, screen or colander, bucket, and eye protection. Barrel fill, water, grit amounts, and run settings vary by model and recipe.
- A rotary tumbler and its manual
- Durable rough stones of similar hardness
- The specified sequence of grit and polish
- Any filler or media the instructions call for
- A measuring tool, screen or colander, bucket, and eye protection
For a beginner who needs a bundled supply, Blue Marble Hobby Rock Tumbler is listed with four grit levels and 1/2 lb of rough stones. Those contents do not set a recipe for your load, so use the instructions for your tumbler.
Our Top Picks
How do you run and inspect the batch?
Follow these checkpoints in order. A common rotary sequence is coarse, medium, fine or pre-polish, then polish, but recipes differ. If you have a vibratory tumbler, follow its own manual and recipe rather than adapting rotary directions.
Step 1: Sort and inspect the rough
Choose durable stones that are close in hardness, and use a suitable mix of sizes for the load your manual specifies. Many agates and jaspers are common choices. Set aside porous, deeply cracked, crumbly, or flaky pieces; they can trap grit, break apart, or shed grains that scratch other stones.
Step 2: Load and start the tumbler
Follow your model’s instructions for barrel fill, water, grit, and settings. Wipe grit and debris from the rim and lid before sealing. Start the machine and check that the barrel turns as expected, without leaks or unusual movement. Stop and unplug it before investigating a problem.
Step 3: Check the coarse grind
Open the barrel at the interval recommended by the manufacturer. Wear eye protection and rinse the stones over a screen or colander above a bucket. Dry a few stones before inspecting them: wet rock can look smoother and shinier than it is.
Check for the shape and surface you want, including pits, cracks, and sharp edges. If the stones still need shaping, repeat the coarse stage if your instructions allow. Later grits refine the surface; they do not replace coarse grinding’s shaping work.
Step 4: Clean and move through finer stages
Rinse and scrub the stones, media, barrel, and lid before each grit change. Leftover coarse grains can scratch stones in a finer stage. Follow the next stage’s measurements and run instructions, and advance only when the surfaces are ready.
Step 5: Polish and assess the finish
Use a polish made for tumbling and follow your machine’s recipe. When the stage is complete, clean and dry the stones before judging the result. If they look dull, check for scratches, contamination, or unfinished earlier stages before assuming they need more polish.
What common mistakes can spoil a batch?
The main avoidable problems are unsuitable rough, rushed stage changes, and leftover grit. Choose sound stones that suit one another, follow your model’s recipe, and check dry surfaces before moving on. Clean carefully between stages so old abrasive does not travel with the load.
- Mixing stones of substantially different hardness can cause uneven wear; sort uncertain stones into separate batches.
- Including porous, fractured, or crumbly pieces can introduce trapped grit or fragments; set questionable rough aside.
- Advancing just because a set number of days passed can leave coarse scratches; inspect dry stones first.
- Skipping cleanup can carry coarse grit into finer stages; scrub the stones and equipment at every change.
- Pouring slurry into household plumbing can cause clogs; catch it and follow the product label and local disposal guidance.
What should you check if the batch goes wrong?
Start by checking the dry stones, the last changeover, and your tumbler’s instructions. Their appearance can point to the problem, but do not make model-independent changes to barrel fill, water, or run settings. Check the likely causes below before changing the recipe.
The stones are still angular or pitted
The rough may need more coarse grinding, or the pits may be part of the stone. Inspect dry surfaces and repeat the coarse stage if the instructions allow and the shape still needs work. Set aside pieces with deep flaws that will not smooth out.
New scratches appear or the finish is dull
Coarse grit may have carried over, or earlier scratches may remain. Clean the stones and equipment thoroughly, then check whether the previous stage left a smooth surface. Extra polish will not remove damage left by a coarser grit.
The stones are chipped or bruised
Check for fragile or mismatched stones, then consult your model’s instructions for loading and cushioning. Remove pieces that are breaking or shedding material. Do not change the load or add filler based on another tumbler’s recipe.
Related guides
- Choosing a rock tumbler for mixed hardness rocks 2026 — Choosing a rock tumbler for mixed hardness rocks starts with sorting. Compare rotary and vibratory motion, batch size, controls, and load limits.
- Best rock tumblers with timers 2026 — Compare the best rock tumblers with timers by verified controls, batch details and included supplies. Find a fit for your first run or next batch.
- KomeStone K1 vs KomeStone K1 Pro 2026 — KomeStone K1 vs KomeStone K1 Pro: compare listed controls, pause function, included supplies and capacity limits, plus details neither listing confirms.
Frequently asked questions
How long does a first rock tumbler batch take?
Plan for several weeks, but let the stones set the pace. Rotary recipes often use about a week as a stage check-in, and coarse grinding may need another cycle. Check your tumbler’s instructions and advance only when the dry stones are ready.
Can I tumble different kinds of rocks together?
You can combine rock types when they are durable and close in hardness, but unfamiliar material is easier to manage separately. Softer stones may wear down before harder ones are shaped, and crumbly or fractured pieces can shed grit or fragments that scratch the batch.
How do I know when coarse grinding is finished?
Inspect clean, dry stones for the shape and surface you want. If they still have sharp edges, pits, or flaws you want removed, coarse grinding may need another cycle. A week is a useful check-in point, not an automatic signal to change stages.
Can I use the same recipe for a vibratory tumbler?
No. The four-stage directions in this guide describe a rotary process. Vibratory tumblers can require different grit, water, loading, and timing instructions. Use the manual and recipe for your exact machine instead of transferring rotary measurements.