
How to prepare rocks for a tumbler batch 2026
Before a new batch, rinse off loose dirt, inspect every stone, and group compatible rough together. Setting aside cracked, porous, or crumbly pieces helps protect sound stones from breakage and grit contamination.
If you are still choosing equipment, compare the tumbler types and options before settling on a batch routine. Compare electric rock tumblers for hobbyists.
Prepare the rough before loading
Sort each piece for condition and compatibility. Use your tumbler manual for the separate loading recipe.
Step 1 Rinse off visible dirt
- Rinse each piece to remove dirt and loose debris.
- Keep this initial rinse separate from the thorough cleaning required between grit stages.
Step 2 Inspect each piece
- Check the rock under good light for porous areas, deep voids, cracks, fractures, and crumbly or fragile surfaces.
- Set aside pieces with problems that could make them break or hold grit.
Step 3 Group compatible material
- Sort rocks into groups with comparable hardness and, where possible, the same rock type.
- Keep uncertain or suspicious pieces separate from sound rough.
Step 4 Check shape and size
- Set aside pieces that seem too large or awkward to tumble freely in your specific barrel.
- Use your manual to decide whether a piece is suitable for that tumbler.
Step 5 Keep prepared groups apart
- Sort a range of sizes together when they suit your tumbler and material.
- Store each group in a clean container until you are ready to load.
Result
What should you do before adding rocks to a batch?
Rinse off loose dirt, inspect each stone in good light, then group sound pieces by comparable hardness and, when possible, rock type. Set aside porous, cracked, crumbly, or unidentified rough; it can hold grit, break, or shed grains that scratch other stones. Check your manual for machine-specific loading details.
For the broader first-batch sequence after sorting, see how to start a first rock tumbler batch.
What do you need to sort rough?
Have your tumbler manual, clean water, good light, and separate clean containers ready. These help you see flaws and keep questionable material apart; a note of unknown rock types can stop a guess from entering the main batch.
- Your tumbler manual, to check whether an awkward piece is suitable before loading.
- Good light to spot cracks, pits, and crumbly patches.
- Water to rinse off dirt and loose debris for inspection.
- Clean containers to keep suitable groups and uncertain rocks apart.
- A simple note of any rock type or hardness you have not identified. Do not guess and mix it into your main batch.
This is rough triage, not the barrel-loading recipe. If you want a supplied group of rough to sort, the Tumble-Bee TB-22-KIT listing specifies 1.5 lb of stones and pre-measured coarse, medium, fine, and TXP polish stages. The listing describes two 2 lb-capacity barrels, but that is nominal barrel capacity, not a rock-only loading target. The included rough is a limited supply for several separate groups.
Our Top Picks
How do you prepare compatible rough before loading?
Work through each piece before loading: rinse it, isolate flaws, group compatible material, then check that the pieces suit your barrel. The goal is a sound, consistent group, not a finished load recipe; your manual governs loading and size limits.
Step 1: Rinse off visible dirt
Rinse each stone to clear away dirt and loose debris, then look over the surface. Highland Park Lapidary also recommends rinsing rocks before tumbling. This first rinse helps you inspect the rough, but it does not replace cleaning between grit stages.
Step 2: Inspect for structural problems
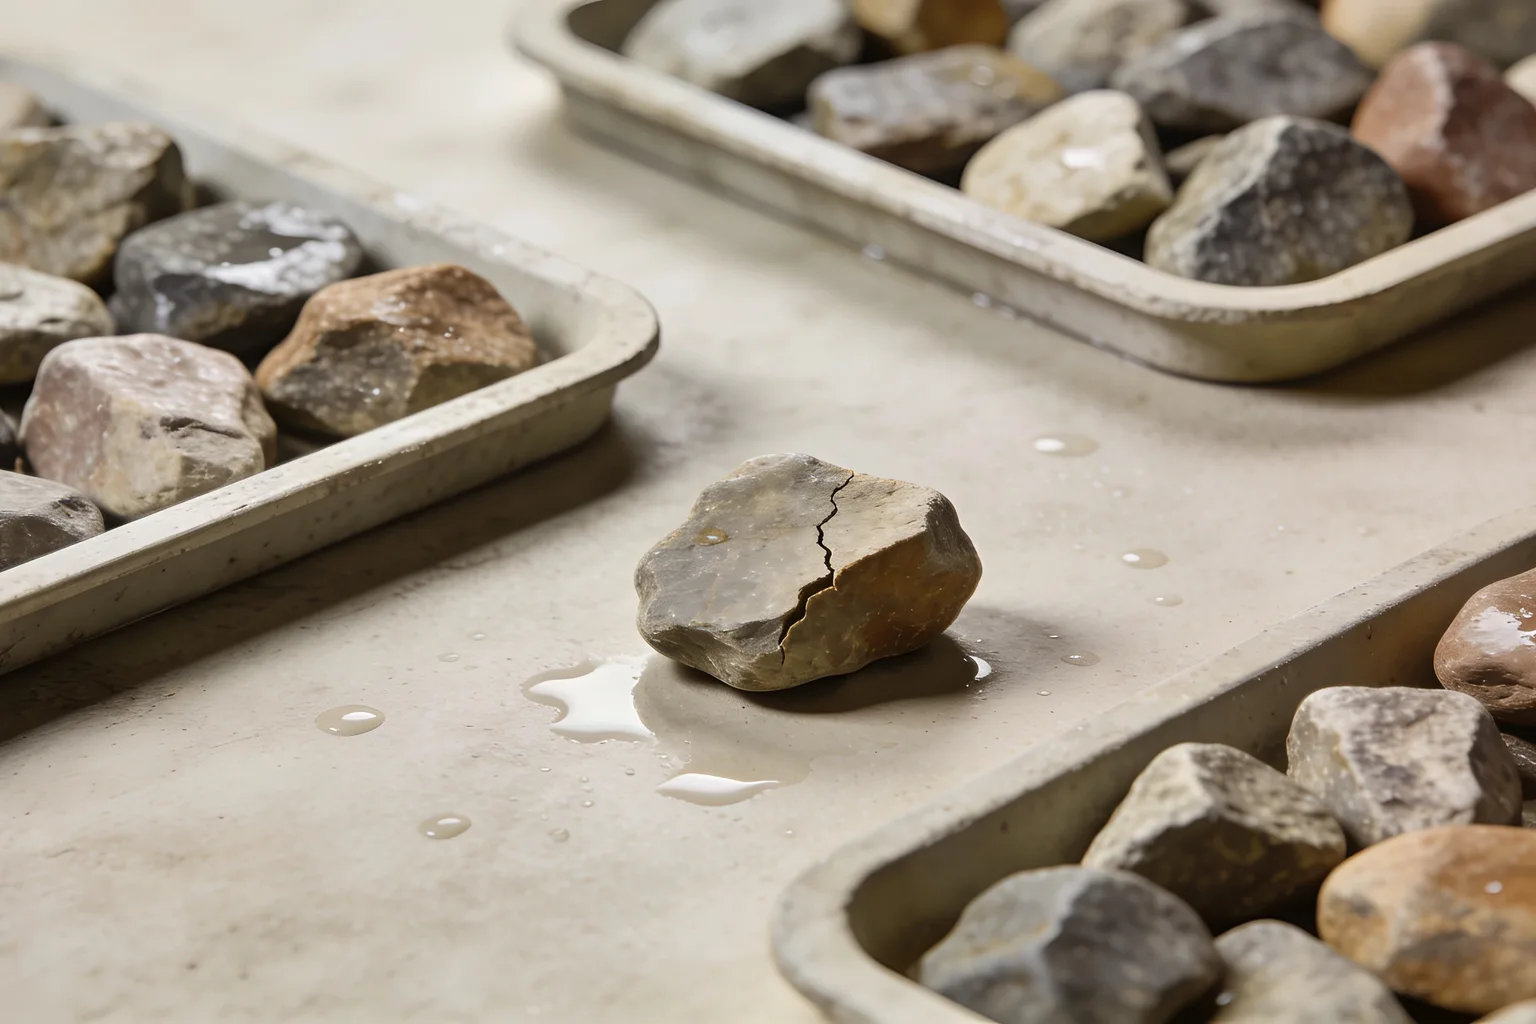
Check each piece in good light for porous areas, deep voids, cracks, fractures, and crumbly or fragile surfaces. Porous spots and voids can trap grit; fractured rocks may break and scratch other stones. Set aside a seriously flawed piece instead of hoping later stages will fix it.
Step 3: Group by hardness and rock type
Keep stones of comparable hardness together, and use the same rock type where possible. Softer material can wear down before harder stones are shaped. RockTumbler.com’s instructions describe a process for suitable rough in the Mohs 6–7 range; that is the scope of that process, not a universal rule for every rock or tumbler. Hold unidentified pieces out of the main group.
Step 4: Check whether the pieces suit your barrel
Set aside pieces that look too large or awkward to tumble freely in your particular barrel. Suitable sizes depend on the machine and material, so do not borrow a size limit from another tumbler. Check your manual before deciding whether a piece belongs in this batch.
Step 5: Sort sizes and store each group
Within a compatible group, keep a range of sizes if those pieces suit your tumbler. A group made up only of large pieces may have fewer points of contact for grinding, but the right size mix belongs to your machine’s instructions. Store prepared groups in clean containers until loading.
Which preparation mistakes should you avoid?
Do not choose rough by appearance or size alone. Check each piece for flaws and compatibility first, then use your manual to judge whether its size suits your barrel.
- Choosing by appearance alone: A good-looking stone can still have cracks, voids, or crumbly areas. Inspect the whole piece before keeping it.
- Mixing markedly different hardnesses: Softer rocks can wear away quickly beside harder ones. Separate groups when you are unsure.
- Putting questionable material in with good rough: Brittle or grain-shedding stone can release fragments that scratch the rest. Keep suspect pieces apart.
- Sorting only by size: Size does not tell you whether stones are compatible. First group by condition and material, then consider the range your manual allows.
- Assuming this guide sets the barrel recipe: Suitable piece sizes and fill levels vary. Follow your tumbler’s instructions when you move from sorting to loading.
When your groups are ready, the separate guide to using a rock tumbler covers loading and the next steps.
What if a rock or batch raises doubts?
If a piece looks likely to break, shed grains, or has unknown hardness, keep it out of your sound rough group. Set it aside until you can judge whether it is suitable; the specific tumbler manual still governs loading decisions.
A piece has a deep crack or void
Grit may lodge in a void, or a fractured piece may break during tumbling. Set it aside or discard it rather than adding it to a batch of sound rough.
Grains come loose when you rub rough pieces together
The stone may shed material in the barrel. RockTumbler.com describes rubbing pieces together as a way to flag rough that releases grains. Keep a suspect piece out of your quality batch.
You cannot identify a rock or judge its hardness
Do not guess and mix it into your main group. Set it aside until you can identify it or check its hardness; the available instructions do not provide a dependable identification method for unknown field-collected rocks.
Related guides
- Choosing a Rock Tumbler by Kit Completeness (2026) · Choosing a rock tumbler by kit completeness means checking stage supplies, rough-rock weight, cleanup tools, instructions, and refills for the exact bundle.
- How to Use a Rock Tumbler Kit: 2026 Guide · Learn how to use a rock tumbler kit: prepare sound rocks, follow each grit stage, clean between stages, and use your model’s instructions for exact settings.
- Best rock tumbler kits with rough rocks 2026 · Best rock tumbler kits with rough rocks: compare included stone amounts, grit, controls, and kit gaps to choose a practical setup for your first batch.
Frequently asked questions
How can I tell if a rock is too fractured to tumble?
Look for deep cracks or fractures that could split the piece during tumbling. RockTumbler.com’s instructions warn that fractured rocks may break and scratch other stones. Set a seriously cracked piece aside or discard it instead of putting it in a sound batch.
Can I tumble rocks of different hardness together?
It is safer to group rocks with comparable hardness. Softer pieces can wear away before harder ones are shaped, leaving an uneven batch. If you do not know a stone’s hardness, keep it separate rather than guessing and mixing it with your main group.
Should I break up a rock that is too large for my barrel?
Check your tumbler’s manual before deciding what to do with an oversized piece. Suitable sizes depend on the machine and material, so there is no universal limit here. If it cannot tumble freely according to your tumbler’s instructions, leave it out of that batch.
Do I need to wash rocks before tumbling?
Rinse off visible dirt and loose debris before inspecting the rough. This helps you see the surface, but it is not the thorough cleaning needed between grit stages. Follow your tumbler’s instructions for loading and clean rocks, barrel, and tools carefully when changing stages.