
How to plan a rock tumbling cycle 2026
Plan a rotary tumbler batch around stage checks, not a countdown to a guaranteed finish. A tentative calendar helps organize the work, but the rock surfaces and your model’s instructions should decide when the batch moves on.
If you are still choosing a machine, compare barrel formats and intended batch sizes before you commit to a cycle. Compare rock tumblers for two-pound batches.
Plan your stages around inspection
Use tentative dates to organize the batch, then let the rocks and your tumbler’s instructions decide when to advance.
Step 1 Check the manual and tumbler type
- Confirm that your recipe is for a rotary tumbler.
- Use your exact model’s instructions for loading, materials, and operation.
Step 2 Sort a compatible batch
- Choose sound rocks with similar hardness and toughness.
- Set aside porous, fractured, crumbly, or suspect pieces.
Step 3 Map the stages in a log
- List coarse, medium, pre-polish, and polish in order.
- Record planned dates as estimates, along with the recipe and its units.
Step 4 Inspect after coarse shaping
- Rinse the rocks safely and examine them before changing grit.
- Repeat coarse shaping if sharp edges or unfinished areas remain.
Step 5 Check medium-grind results
- Clean the rocks, barrel, lid, and tools before starting the finer stage.
- Advance when dry stones have an even, smooth, frosted surface.
Step 6 Check pre-polish results
- Clean all contact parts before changing abrasive.
- Advance when the stones feel very smooth; some may show slight luster.
Step 7 Polish and inspect dry
- Start polish only after pre-polish is complete and the equipment is clean.
- Rinse and dry the stones to judge the finish.
Result
What does a planned rotary cycle include?
A standard rotary cycle moves from coarse shaping to medium grinding, pre-polish, and final polish. About a week per stage is a useful planning baseline, and a full cycle often takes roughly four to six weeks. Allow extra time when inspection shows a stage is unfinished; your tumbler manual and the stones matter more than the calendar.
What should you have ready before setting dates?
Start with the manual for your exact tumbler and a recipe intended for that machine and material. Kits can differ in timing, doses, loading limits, and media, so do not assume their directions are interchangeable. If you also need help with the first load, use this first-batch setup guide.
- A compatible batch of sound rough, rather than a mix of rocks that wear at very different rates.
- The stage abrasives and any media required by your recipe.
- A dedicated strainer and bucket for rinsing, plus safety glasses to protect your eyes from splashes.
- A log for the model, recipe, dates, abrasive and dose with units, media, observations, and each advance-or-repeat decision.
The batch-log example shows useful details to record, but a log is a recordkeeping tool, not a dosing recipe. For example, the Tumble-Bee TB-22-KIT listing says the kit includes instructions, a rock grit polish kit, and two separate 2 lb barrels. The listing does not establish a universal schedule or a rock-only weight limit, so follow the instructions for your equipment.
Our Top Picks
How do you make stage-by-stage decisions?
Use about a week per stage as a planning baseline, not permission to advance automatically. Rotary guidance commonly uses that starting point, but coarse shaping may need extra runs. Put tentative dates in your log, then record what you see before each change.
- Check the tumbler manual and confirm that your schedule is for a rotary barrel. Directions for another tumbler type may not apply, and your manual controls model-specific details.
- Sort the rocks for compatibility and condition. Similar hardness and toughness help a batch wear more evenly; porous, fractured, or crumbly pieces can cause trouble as they break down.
- Write the four stages in order: coarse, medium, pre-polish, and polish. Add tentative dates, the recipe, product names, and units to your log so you can compare the plan with what happened.
- After coarse shaping, rinse the rocks and inspect them. Move on when they are rounded without sharp edges; repeat the coarse stage if shaping is unfinished.
- After medium grinding, check dry stones for an evenly smooth, frosted surface. Clean the rocks, barrel, lid, and tools before changing abrasive so residue from an earlier stage does not scratch later work.
- After pre-polish, look for very smooth surfaces; some stones may have slight luster. Clean all contact parts before polish, and do not expect polish to correct unfinished shaping or scratches.
- After polish, rinse and dry the stones before judging the result. Record whether the finish holds up when dry, then note any next step rather than relying on a timer alone.
Which planning mistakes can spoil a batch?
The main planning mistake is treating a date as proof that a stage is complete. Inspection and clean transitions matter too: coarse grit carried forward can scratch stones in finer work. Follow the recipe for your machine instead of borrowing another model’s fill or dose rule.
- Moving on because the planned week ended: inspect the dry stones and repeat the stage if its checkpoint is not met.
- Rushing cleanup: clean rocks, barrel, lid, and tools between grit stages.
- Mixing rough with very different hardness or toughness: sort a compatible batch before starting.
- Assuming one loading level or grit dose fits every tumbler: use the exact manual and recipe.
For more detail on preventing carryover and handling rinse mud, see RockTumbler’s rotary instructions.
What should you change if a stage or finish is not ready?
Use what you see to decide whether to repeat a stage, clean up a transition, or check the rough. Do not try to solve every problem by adding more polish. If the stones remain rough after these checks, see this guide to stones that stay rough.
Sharp edges remain after coarse shaping
The coarse stage has not finished shaping those stones. Keep the batch at coarse, then rinse and inspect again before moving to medium.
Scratches appear after finer work
Check for grit carried over from an earlier stage or material that sheds grains. Clean the contact parts thoroughly and set aside suspect rocks. Depending on the scratches, return to an appropriate grinding stage instead of relying on more polish.
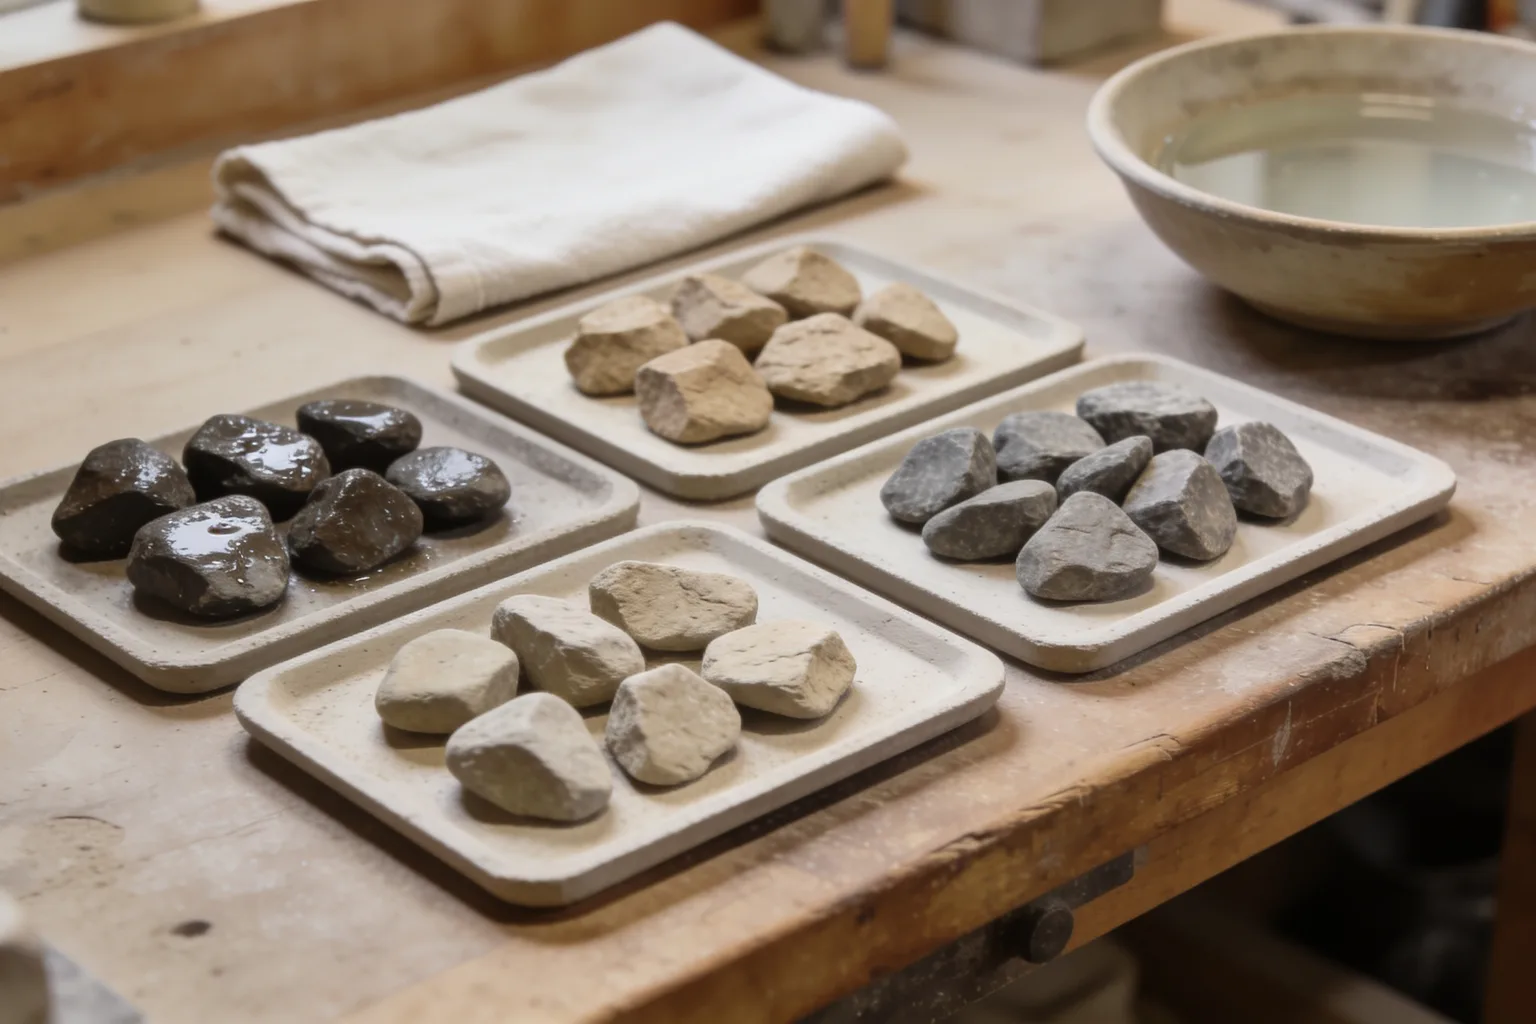
A stone looks shiny wet but dull when dry
The pre-polish or polish may be incomplete, or an earlier stage may have left scratches. Inspect the clean, dry stone and review your stage notes before deciding whether to repeat a step.
Related guides
- How to prepare rocks for a tumbler batch 2026 · How to prepare rocks for a tumbler batch: rinse off dirt, inspect for cracks and voids, sort by compatibility, and set aside questionable rough.
- Tumble-Bee TB-22 vs BRYTE Rock Tumbler 2026 · Tumble-Bee TB-22 vs BRYTE Rock Tumbler: compare documented kit contents and batch separation, plus what remains unverified about BRYTE.
- Choosing a Rock Tumbler by Control Type 2026 · Choosing a rock tumbler by control type means separating tumbling action from timer and speed settings, so you can pick controls that fit your routine.
Frequently asked questions
How long should I plan for a complete rotary tumbling cycle?
Plan for roughly four to six weeks as a starting estimate, with about a week per stage in a common four-stage sequence. Coarse shaping can take longer, so leave room in your calendar for repeats. The tumbler’s recipe and inspection results determine the actual schedule.
Should I move to the next grit stage as soon as the planned week ends?
No. A week is a planning baseline, not a signal that the stones are ready. Rinse and inspect them against that stage’s checkpoint. If sharp edges, scratches, or an unfinished surface remain, repeat or reassess the current stage before moving to finer abrasive.
When should I repeat the coarse stage?
Repeat coarse shaping when the rinsed stones still have sharp edges or need more shaping. Inspect before changing grit, and record which stones need more work. A calendar cannot tell you whether the rough has reached the shape you want.
How do I prevent grit from contaminating later stages?
Between stages, clean the rocks, barrel, lid, and tools so residue from the previous abrasive does not travel forward. Rinse over a bucket or other suitable container, not into a household drain. Keep your cleanup tools dedicated to the work where practical.
Why can a polished rock look shiny wet but dull when dry?
A wet surface can make unfinished texture or scratches harder to see. Rinse and dry the stone before judging it. If it remains dull, check whether pre-polish or polish is complete and whether grit carried over; repeating polish alone may not fix earlier surface damage.