
How to plan rock tumbler grit stages 2026
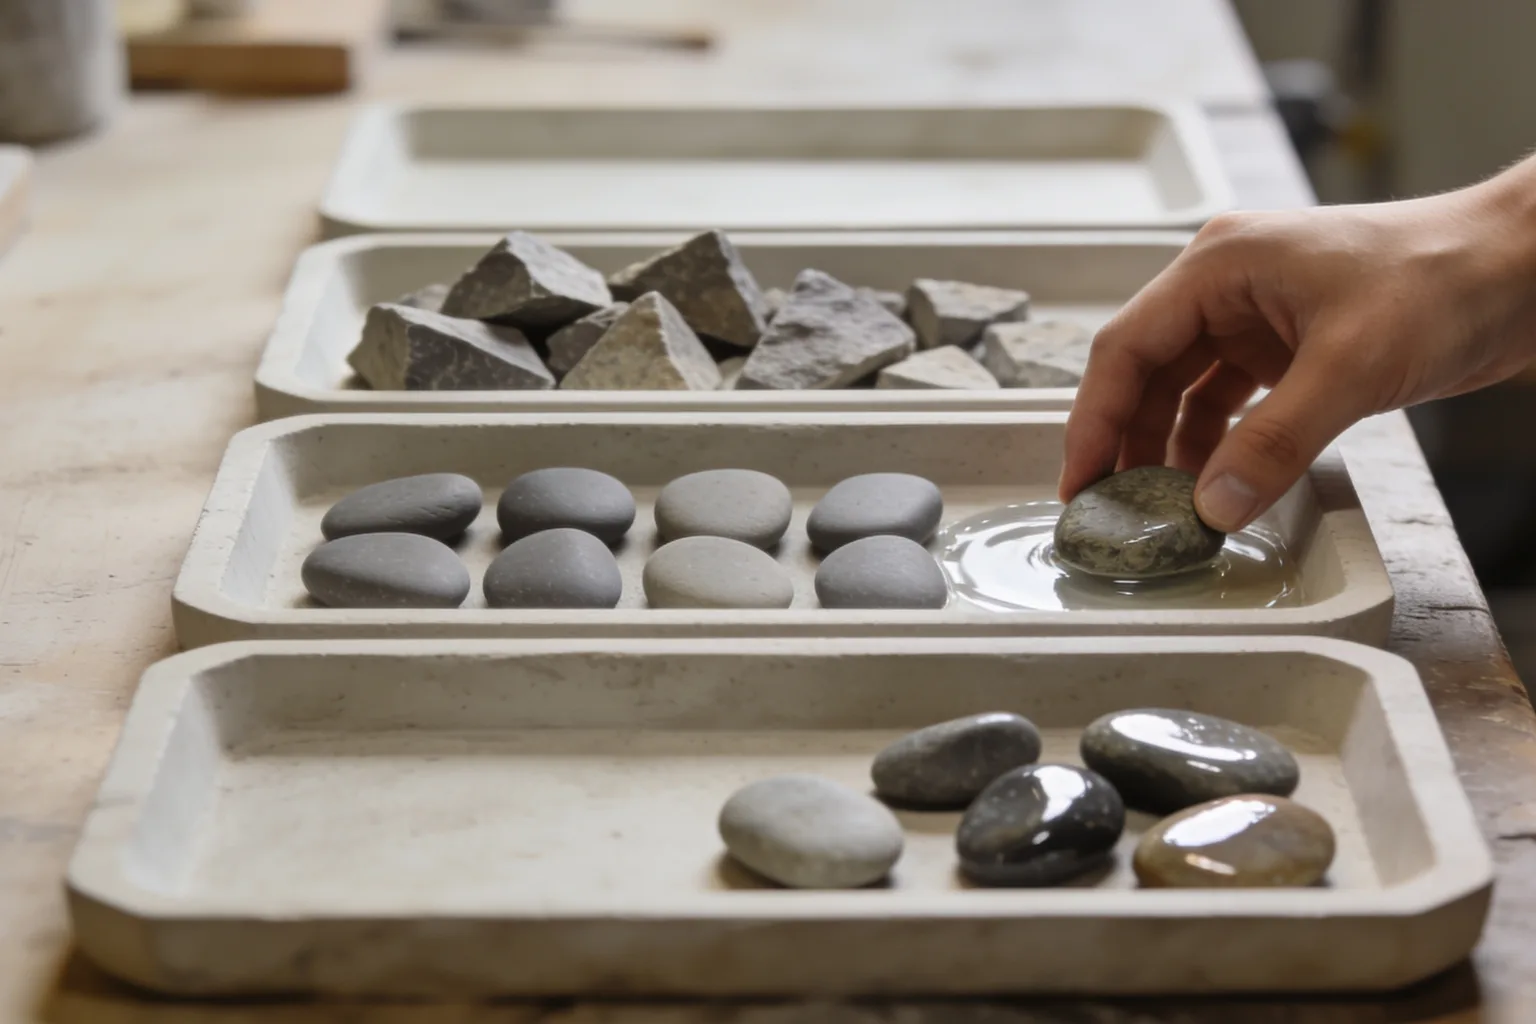
Plan a rotary tumbler batch by assigning each grit stage a job and checking the stones before you advance. That matters most after coarse grinding, because later abrasives smooth a surface but cannot make up for unfinished shaping.
If you still need to choose a machine before planning its grit schedule, compare beginner rock tumblers.
Plan the batch one checkpoint at a time
Use time to schedule inspections, then let the stones tell you whether they are ready to advance.
Step 1 Confirm your tumbler’s sequence
- Check the manual and grit packaging for the stage order and abrasive names or numbers.
- Write down the instructions for this batch before you start.
Step 2 Plan coarse grit as the shaping stage
- Schedule an initial run, then inspect the stones rather than assuming the stage is finished.
- Repeat coarse grinding with fresh grit as directed if edges remain sharp or surfaces uneven.
Step 3 Check the medium stage
- Use the medium abrasive specified for your tumbler.
- Inspect for a smoother, more even surface before advancing.
Step 4 Inspect before pre-polish
- Use the specified fine or pre-polish abrasive after cleaning the batch and barrel.
- Hold the batch back if scratches, pits, or signs of grit contamination remain.
Step 5 Polish only after a clean transition
- Clean the stones, barrel, and tools thoroughly before adding polish.
- Check the dry stones to judge the finish and decide whether to continue or revisit earlier work.
Result
What is the basic grit-stage plan?
A common rotary sequence is coarse, medium, fine or pre-polish, then polish. Treat about a week as a time to inspect, not proof a stage is done; use your tumbler’s manual and grit labels to plan each run, then advance only when inspection shows the surface is ready.
What should you gather before planning?
Gather your tumbler’s manual and grit directions, a batch of sound rocks with similar hardness, the listed abrasives, a way to record inspections, and a strainer or other way to catch rinse water. Sorting out cracked or crumbly pieces first can prevent trouble in later stages.
- The tumbler’s own manual and grit directions
- A batch of sound rocks that are roughly similar in hardness
- The abrasives specified for coarse, medium, fine or pre-polish, and polish
- A notebook or checklist to record what you see at each inspection
- A strainer and collection container for rinsing; keep slurry out of household drains
A packaged kit can keep stage materials together. The manufacturer lists four grit levels and an automatic shutoff timer for the National Geographic Hobby Rock Tumbler Kit. Use the kit’s instructions for its particular schedule.
Our Top Picks
How do you map the stages from coarse grit through polish?
Write down the sequence, the first inspection date, and what the stones should look like before each transition. Common rotary examples include 60/90 coarse and 150/220 medium silicon carbide, followed by 500 or 600 fine grit and polishing compound. Labels and recipes vary, so check them against your manual and grit packaging.
Step 1: Confirm your tumbler’s sequence
Check the manual and grit package, then record each stage’s abrasive and any timing directions. This plan is for rotary tumblers; vibratory machines can use a different sequence, so follow their own instructions.
Step 2: Plan coarse grit as the shaping stage
Treat coarse grinding as the shaping stage. Plan an initial run and inspect the rinsed stones; about seven days is a common first check, not a deadline. If sharp edges or uneven surfaces remain, repeat coarse grinding with fresh grit as directed.
Step 3: Check the medium stage
Use the medium abrasive named in your instructions, then inspect for a smoother, more even surface. About a week is one common planning estimate, not a finish line. Advance when the stones meet the stage’s purpose, not just because the date arrived.
Step 4: Inspect before pre-polish
Move to the specified fine or pre-polish abrasive only after checking the medium-stage results. Look for an even surface and any scratches or pits that still need attention. Clean the stones, barrel, and tools between stages so leftover coarse grit does not scratch stones later.
Step 5: Polish only after a clean transition
Clean the batch and barrel thoroughly before adding polish, then follow the instructions for the compound and run length. Published polish schedules differ, so use the one for your tumbler. Inspect the stones dry: if they look shiny only when wet, the polish or pre-polish may be unfinished, or earlier scratches may remain.
What planning mistakes can spoil later stages?
The usual trouble is advancing before the surface is ready or carrying coarse grit into a finer stage. A calendar cannot correct either mistake: inspect after each run and clean the stones, barrel, and tools at every transition. Catching a flaw early can save later stages.
- Advancing while stones are still sharply edged or uneven: return to coarse grinding as directed, since finer abrasives are not a substitute for shaping.
- Treating one duration or grit amount as universal: use your machine and grit instructions, then adjust based on inspection.
- Leaving grit on stones, the barrel, or tools: clean thoroughly between stages to reduce the chance of scratches.
- Rinsing slurry into a household drain: collect it instead, let solids settle, and put the settled material in the trash.
What should you do when inspection shows a problem?
Stop and diagnose the surface before starting a finer stage. Decide whether the stones need more shaping, whether scratches may come from grit carryover or damaged pieces, or whether the finish is simply incomplete. Correct the earlier issue first; finer grit will not reliably remove flaws left behind.
Sharp edges or uneven shaping after coarse grinding
The shaping stage may need more time, especially with hard or angular rough. Continue coarse grinding with fresh grit according to your tumbler’s directions, then rinse and inspect again before advancing.
Scratches or pits before the next stage
Hold the batch back. Leftover grit can scratch stones, and damaged or crumbly pieces can contribute to surface problems. Check the stones and clean the barrel and tools carefully; correct the issue before continuing to a finer abrasive.
Stones look shiny wet but dull when dry
The pre-polish or polish may not be complete, or earlier scratches may still show through. Inspect the dry surfaces and consider whether the batch needs more time at its current stage or attention earlier in the sequence.
Related guides
- Why Does My Rock Tumbler Keep Stopping in 2026 — Why does my rock tumbler keep stopping? Separate power loss from a stalled barrel, check safe basics, and know when to contact the manufacturer.
- How to prepare rocks for tumbling 2026 — How to prepare rocks for tumbling: inspect cracks and voids, sort by type and hardness, and check size against your tumbler before choosing a batch.
- Best rock tumblers for small batches 2026 — Best rock tumblers for small batches 2026: compare barrel size, controls, and kit contents, with notes on uncertain capacity and model identity.
Frequently asked questions
How do I know when to move from coarse to medium grit?
Rinse and inspect the stones rather than relying on a set number of days. Move on when the edges are acceptably rounded and the surfaces are even enough for your goal. If sharp edges or uneven areas remain, continue coarse grinding as directed and check again.
Do all rock tumbler kits use the same grit numbers?
No. A common rotary sequence uses coarse, medium, fine or pre-polish, then polish, but grit numbers and labels vary among guides and kits. Check your tumbler’s manual and grit packaging before planning the stages, and use those directions for your specific machine.
Should I plan on exactly seven days for every grit stage?
No. About a week is a common planning estimate, but it does not prove a stage is finished. Coarse grinding may take longer, and published schedules differ for later stages too. Set a time to inspect, then decide whether the stones meet that stage’s purpose.
What should I do if I see scratches before the polish stage?
Do not advance the batch yet. Check whether grit from an earlier stage carried over, and clean the stones, barrel, and tools thoroughly. Inspect for damaged or crumbly pieces too, then follow your tumbler’s instructions to correct the problem before moving to a finer abrasive.