
How to prepare rocks for tumbling 2026
Before you tumble, inspect your rough, separate pieces with flaws or loose grains, and group similar rocks together. Check each piece against your tumbler’s own size guidance; a careful sort can help limit breakage, grit contamination, and uneven wear.
If you are still choosing a machine after sorting your rough, compare the options by type and intended use. Compare rock tumblers for beginners.
Sort your rough before it reaches the barrel
Inspect each piece, separate questionable material, and check the size guidance for your specific tumbler.
Step 1 Inspect each piece
- Look for cracks, pits, voids, porous areas, and weak or misshapen sections.
- Set aside pieces with flaws that could trap grit or break during tumbling.
Step 2 Check whether it sheds grains
- For suspicious brittle or granular rough, rub two pieces together with some pressure.
- Separate material that readily sheds grains from sound rough.
Step 3 Sort by type and likely hardness
- Group pieces that appear to be the same rock type and have similar hardness.
- Keep uncertain material in its own group rather than guessing.
Step 4 Check the size against your tumbler
- Compare each piece with the size guidance for your specific model.
- Choose a smaller piece or consider safe reduction if a rock is too large.
Result
What should you do before tumbling rough?
Check each rock for cracks, pits, voids, and weak areas, then set questionable pieces aside. Sort sound rough by type and similar hardness, and confirm that the pieces fit your tumbler’s guidance. You need only a place to sort and the manual for your machine.
What do you need to sort rocks?
Start with the rocks you plan to tumble, a clean surface, separate containers, and the manual or barrel guidance for your specific tumbler. You do not need a cutting tool just to prepare a batch; naturally sized pieces are fine if they meet the guidance.
- Candidate rough, with room to separate pieces you are unsure about.
- Containers or trays to keep different groups apart.
- Your tumbler’s manual or manufacturer size guidance.
- If you choose to reduce a rock, the tool’s instructions and appropriate protective equipment.
If you still need rough to sort, the Blue Marble Professional 2 Lb Rock Tumbler kit includes 1 lb of rough rocks, grit, and a strainer, according to the manufacturer. The included rough quantity is separate from the barrel’s 2 lb capacity, and the product listing does not establish rock-size limits.
Our Top Picks
How do you inspect and prepare rocks?
Work through the rocks one at a time: reject or separate weak pieces, test suspicious material, group compatible rough, and check the size for your machine. This is a sorting task, not a reason to break every large rock; use the manual to decide whether a piece is suitable.
Step 1: Inspect each piece
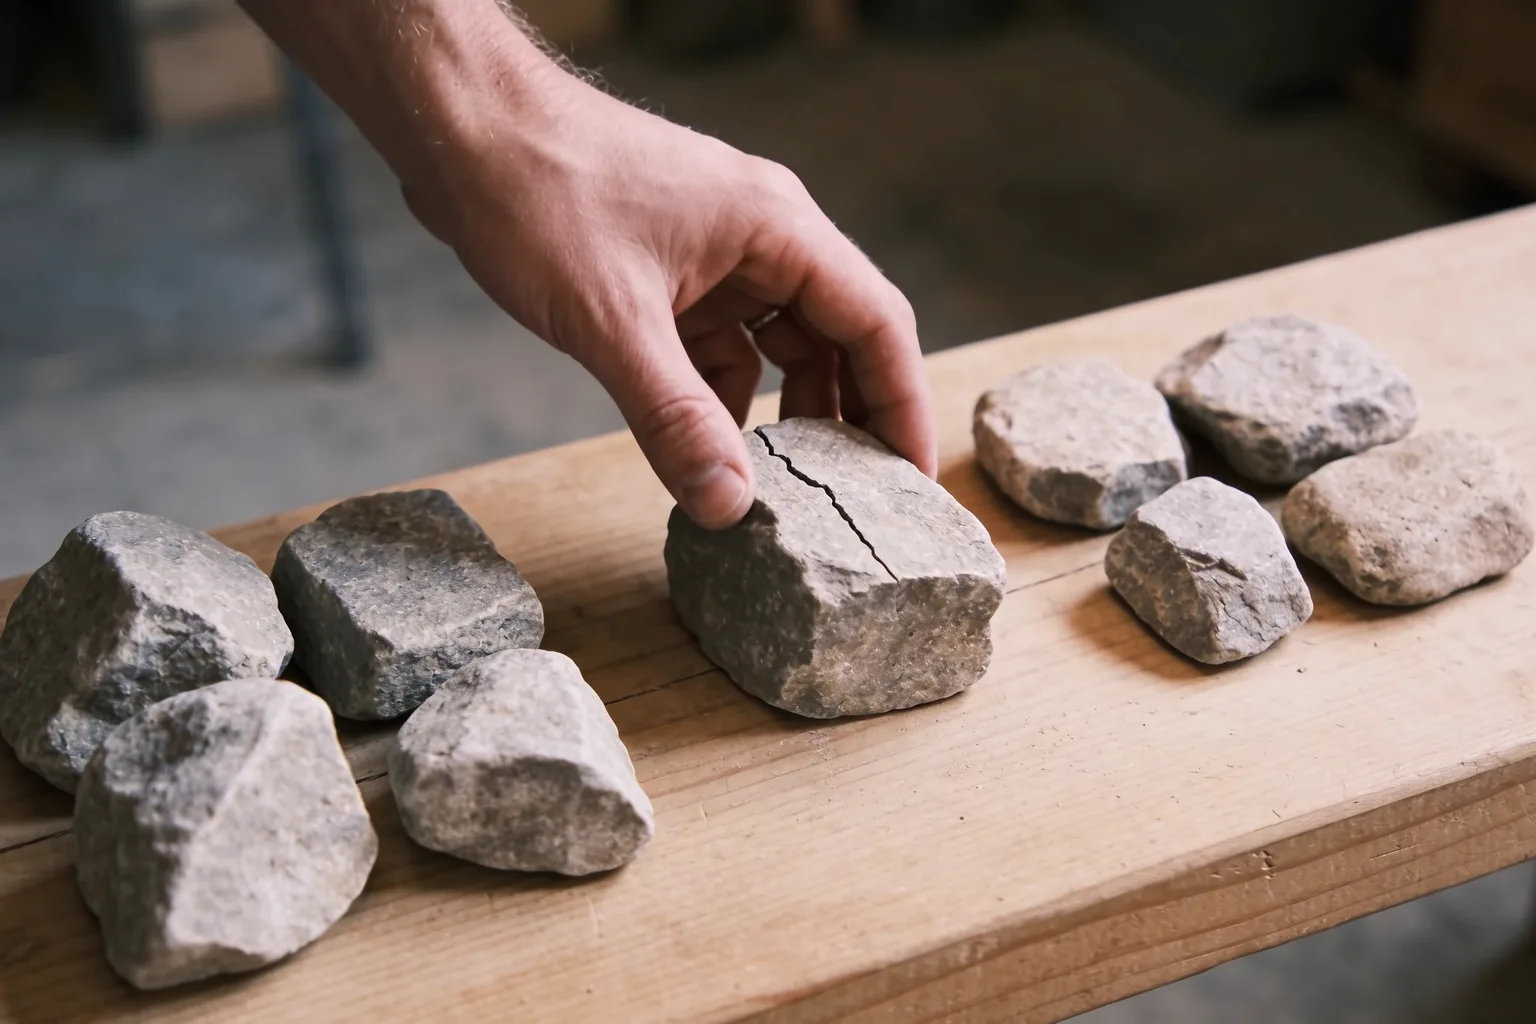
Turn each rock in good light and look for fractures, pits, voids, porous patches, and weak or misshapen sections. Set aside pieces with flaws rather than hoping tumbling will fix them. Voids can hold grit, and fractured rocks may break and scratch other stones.
Step 2: Check whether it sheds grains
If a piece looks brittle or granular, try the rub check described in the rotary-tumbler instructions: rub two pieces together with some pressure. If grains come loose readily, keep that material out of a batch of sound rough. Run uncertain or suspect material separately, or leave it out.
Step 3: Sort by type and likely hardness
Make separate groups for different rock types and for rough that appears noticeably different in hardness. Softer stones can wear down faster beside harder ones, and mixing types can make problems harder to diagnose. If you cannot identify a piece with confidence, keep it separate instead of treating it as a match.
Step 4: Check size against your tumbler
Compare each piece with the size instructions for your own machine. Published size examples differ by tumbler and process, so there is no single limit to apply to every barrel. If a piece looks too large, choose another rock or consider an appropriate reduction method rather than forcing it into the batch.
Reducing rock is optional. If you use a saw or striking tool, follow its manufacturer’s directions and use appropriate protective equipment. The cited safety guidance calls for eye and hearing protection with saws and a stable surface for hammer work; if you are unsure, choose already-sized rough.
What preparation mistakes can spoil a batch?
The main avoidable mistakes are putting flawed or grain-shedding rocks with sound rough, mixing material that wears differently, and guessing at size limits. A careful sort takes less effort than trying to diagnose a damaged or uneven batch later.
- Mixing porous rocks with quality rough: grit can lodge in voids and carry into later stages. Set those pieces aside.
- Keeping fractured or grain-shedding material in the batch: it can break or shed particles. Separate it from sound stones.
- Combining noticeably different rock types or hardness: softer material may wear faster, and the cause of poor results can be harder to pinpoint.
- Using one size rule for every machine: check your own tumbler’s guidance rather than assuming a published example applies.
What should you do with a questionable rock?
If a piece seems questionable, do not put it in a good batch just to find out what happens. Set it aside, keep it separate, or choose a different piece based on what you see; this helps protect sound rough from breakage or contamination.
The rock has a visible crack, pit, or void
Set it aside or reject it. A crack can open or break during tumbling, while a void may trap grit. Do not count on later tumbling stages to repair those structural flaws.
The rub check loosens grains
Keep that material separate from sound rough. Readily shed grains can contaminate a batch and scratch other stones. If you are unsure whether the piece belongs in a batch, leave it out or try it separately.
The piece looks too large for the barrel
Do not force it into the tumbler. Choose another piece that fits the model’s guidance, or reduce it only with a suitable tool used according to its instructions and safety requirements.
You cannot tell what the rock is
Keep it separate from a group with known, similar material. Guessing can pair rocks that wear at different rates. You can decide later whether to identify it or run it on its own.
Related guides
- How to choose a rock tumbler barrel material 2026 — Learn how to choose a rock tumbler barrel material by comparing rubber, plastic, and lined-metal construction, then verify the exact model and variant.
- KomeStone K1 Pro review 2026: fit and trade-offs — KomeStone K1 Pro review for beginners: see what its 2.5 lb nominal barrel, three speeds and 9-day timer tell you, plus the key trade-offs.
- Why Are Rocks Chipping in My Rock Tumbler? (2026) — Why are rocks chipping in my rock tumbler? Check barrel loading, large-rock contact, and fractures, then adjust the batch before continuing.
Frequently asked questions
Can I tumble rocks with cracks or holes?
It is usually better to set them aside. Fractured rocks can break during tumbling and scratch other stones, while holes or voids can trap grit. A piece with an obvious flaw is a poor choice for a batch of sound rough.
Should I mix different types of rocks in one batch?
For a predictable beginner batch, sort by rock type and similar hardness instead of mixing unrelated rough. Softer stones can wear faster beside harder ones, and mixed types can make problems harder to diagnose. Keep uncertain material separate.
How do I know if a rock is too large for my tumbler?
Check the manual or size guidance for your specific tumbler. Published examples vary by barrel and process, so a size that suits one setup may not suit another. If a piece seems too large, choose a smaller one rather than forcing it in.
Do I need to break large rocks before tumbling?
No. Start with naturally sized rough when it fits your tumbler’s guidance. Reducing a rock is optional; if you choose to use a saw or striking tool, follow the tool manufacturer’s instructions and use appropriate protective equipment.