
How to load a rotary rock tumbler barrel 2026
To load a rotary tumbler, use the fill level and charge directions for your exact model, sort sound rocks of similar hardness, and leave room for them to move. A suitable load helps prevent banging and poor tumbling, while the manual keeps you from applying another barrel’s recipe.
If you are still comparing equipment before setting up a batch, see our comparison of rock tumblers for hobby lapidary.
Load the barrel in five steps
Use your tumbler’s instructions for its fill level and charge details.
Step 1 Check the model instructions
- Find the loading directions for your exact tumbler model.
- Note its fill level and any limits or instructions for filler media.
Step 2 Clean the barrel and lid
- Remove old grit, rock fragments, and debris from the barrel.
- Check that the lid and rim are clean before loading.
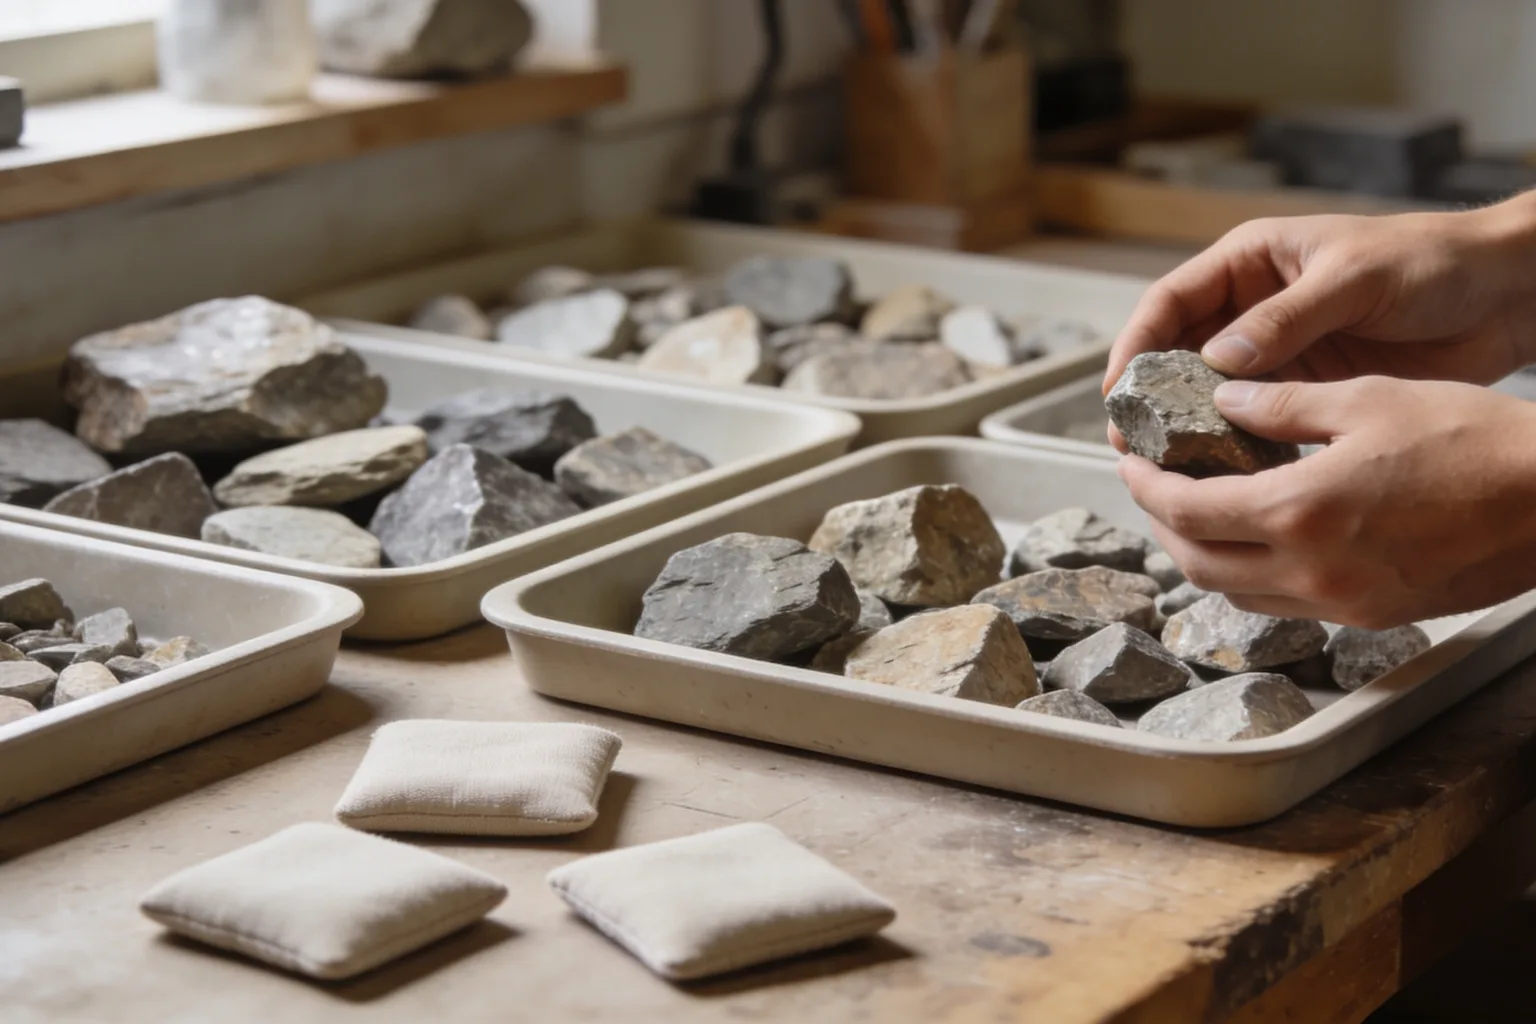
Step 3 Inspect and sort the rocks
- Set aside fractured, porous, or crumbly pieces.
- Group rocks of similar hardness and, where practical, the same type.
- Include a mix of sizes when you have suitable pieces.
Step 4 Load to the model’s specified level
- Place the sorted rocks in the barrel without exceeding its instructions.
- Leave enough room for the load to move as the barrel turns.
Step 5 Add permitted filler if needed
- If the load is below the specified level, add suitable small rocks or media only if your manual allows it.
- Add grit and water according to the same model’s instructions.
Result
What is the basic method for loading a tumbler barrel?
Check the manual for your exact model, clean the barrel and lid, sort sound rocks of similar hardness, and load to its specified level. The rocks need room to tumble; add filler only if the instructions permit it, then use that same manual for grit and water amounts.
What should you have ready?
Gather the model number and instructions, a clean barrel and lid, and a tray or stable surface for sorting. Choose sound rough with similar hardness, and have small rocks or permitted media available only if needed. Fill levels and allowed media vary by model.
- A stable container or work surface for sorting your rocks.
- Small rocks or filler media only if you need them and your model’s instructions allow them.
- The grit and water directions for your exact tumbler, kept separate from general loading advice.
For a bundled beginner option, the Blue Marble National Geographic Hobby Kit includes four grit levels and half a pound of starter stones; its maker describes the barrel as leak-proof. The available product information does not give its fill level, so follow the kit’s instructions. If your model permits ceramic filler, see how to add ceramic media to a rock tumbler. For plastic filler, guidance on using plastic media covers that separately.
Our Top Picks
How should you load the barrel?
Start with the model-specific directions, then prepare the barrel before sorting and adding rocks. Follow the sequence below, stopping at the fill level the maker gives. This keeps a general recommendation or capacity label from replacing the actual loading instructions.
Step 1: Check the model instructions
Find the loading directions for your exact model before adding rocks. Note its specified fill level and any limits for rock size or filler. Barrel capacity is not the same as permitted rock-only weight or complete charge weight, so check those separately if the manual lists them.
Step 2: Clean the barrel and lid
Remove old grit and rock fragments from the barrel, lid, and rim. Grit or debris on those surfaces can interfere with the seal, so clean and check them before closing the barrel.
Step 3: Inspect and sort the rocks
Set aside fractured, porous, or crumbly pieces. They may break during tumbling or trap grit in cracks and openings. Group rocks of similar hardness and, where practical, the same type, since softer pieces can wear down faster beside harder ones.
When you have suitable rough, mix larger and smaller pieces rather than loading only large rocks. Smaller pieces can fill gaps and create more contact between rocks. The best size range depends on your barrel and material, so use the model’s instructions.
Step 4: Load to the specified level
Add the sorted rocks and stop at the fill level given for your model. The rocks need room to move as the barrel turns. Too much material can restrict movement, while too little can let rocks knock around.
Step 5: Add permitted filler and finish the charge
If you need more material to reach the specified level, add small rocks or filler only if the manual allows it and the material suits your batch. Then add grit and water as directed for your exact model. Do not borrow those amounts from another tumbler’s recipe.
Which loading mistakes should you avoid?
The common mistake is treating one percentage or capacity label as a recipe for every rotary tumbler. Underfilling and overfilling can both disrupt movement, so use the specified level for your model. Sort by hardness, remove suspect rough, and use filler only when permitted.
General instructions differ: RockTumbler.com recommends about one-half to two-thirds full, while Kingsley North recommends two-thirds to three-quarters full. Neither range overrides your tumbler’s manual.
- Loading only large pieces: include suitable smaller pieces when available to fill gaps and create more contact between rocks.
- Mixing rocks with notably different hardness: sort them into compatible groups to reduce uneven wear.
- Keeping fractured or porous rough: set suspect pieces aside so they are less likely to break or trap grit.
- Adding filler by habit: use it only when your model allows it and the load needs it.
- Confusing capacity with charge weight: follow the model’s loading and weight directions separately.
What should you check if the load behaves poorly?
If the batch bangs, barely moves, or leaks, stop the tumbler and check the load or seal before restarting. Compare the contents with your model’s fill directions. Sound and movement can point to a loading issue, but a leak calls for an inspection of the rim and lid.
The rocks bang around or tumble violently
The load may be below the model’s specified level or lack smaller pieces to cushion larger rocks. Check the manual and, only if allowed, add suitable small rocks or filler to reach the specified level.
The rocks barely move
The barrel may be overfilled, leaving too little room for the rocks to move. Check the model’s directions and remove material as needed to reach its specified level.
The barrel leaks
Stop the tumbler and check the rim and lid for grit or rock fragments. Clean those surfaces, then follow the model’s sealing and lid instructions before running it again.
Related guides
- Why Are Rocks Still Rough After Tumbling? 2026 · Why are rocks still rough after tumbling? Separate shaping problems from scratches, pits, and dullness, then choose which stage to repeat or skip.
- How to use plastic media in a rock tumbler 2026 · Learn how to use plastic media in a rock tumbler: check rotary compatibility, follow model loading guidance, and keep pellets separate by grit stage.
- Choosing a rock tumbler for a one-pound batch 2026 · Choosing a rock tumbler for a one-pound batch? Compare rock-only load with barrel capacity, supplies, batch frequency, noise, and room to grow.
Frequently asked questions
How full should a rotary rock tumbler barrel be?
Use the fill level specified in your tumbler’s instructions. General guidance varies: some sources recommend about one-half to two-thirds full, while another recommends two-thirds to three-quarters. These figures are not universal, and barrel capacity alone does not tell you the correct rock load.
Should I mix small and large rocks in the same barrel?
A mix of suitable sizes can fill gaps and create more contact between rocks. Avoid loading only large pieces when smaller compatible pieces are available. Keep the rocks reasonably similar in hardness, and follow your tumbler’s instructions for acceptable rock size and loading.
Can I use ceramic media to fill an underloaded barrel?
Only if your tumbler’s instructions permit ceramic media and it suits the material in your batch. Do not add it automatically or use it to exceed the model’s fill level. For media-specific directions, see how to add ceramic media to a rock tumbler.
What should I do if the rocks are banging around or barely moving?
Stop and check the load against the instructions for your exact model. Banging can indicate an underfilled load; barely moving contents can indicate overfilling. Adjust the material to the specified level, and add suitable filler only if the manual allows it.