
Why Do Rocks Chip in a Rock Tumbler 2026
When rocks chip, check whether the barrel was underfilled or sparsely cushioned, then inspect the damaged rough for cracks or fragile layers. These clues help you choose one change before the next run, but none identifies the cause alone.
If you are comparing starter kits or what rough they include, this roundup can help with that buying decision, though it cannot identify why a particular batch chipped. Compare rock tumbler kits that include rough.
Check the batch before changing it
Look for clues in the damage, load and rough, then adjust one likely cause at a time.
Step 1 Pause and examine the damage
- Keep chipped stones and intact stones from the same batch together for inspection.
- Note whether chips appear across many stones or mainly on a few.
Step 2 Check the barrel load
- Use your manual to check the recommended load for your tumbler model.
- Estimate how much of the barrel was occupied by rocks and media.
Step 3 Look for sparse cushioning
- Check whether the load contained only a few large rocks with lots of open space between them.
- Consider whether smaller stones or suitable media could add cushioning, if the manual and rock type allow it.
Step 4 Inspect the rough
- Look closely at chipped and intact stones for visible cracks, layers or fragile-looking structure.
- Compare stones from the same batch rather than assuming one damaged piece proves a general cause.
Step 5 Change one factor first
- Choose one likely adjustment, such as correcting an underfilled load or separating visibly fractured rough.
- Keep notes on the rock type, load and adjustment so the next batch gives you useful evidence.
Result
What should you check first?
Check how full the barrel was and whether smaller rocks or suitable media cushioned it, then inspect chipped and intact pieces for cracks or layers. Use your model's manual, the batch and any notes about crashing noise. Those clues help narrow the cause before you adjust one factor.
What do you need to diagnose chipping?
Gather the tumbler instructions, the batch and a way to estimate how full the barrel was. Your model matters because published fill advice is not a universal specification. Note whether the rocks crashed loudly, and consider small stones or media only if they suit your rocks and your machine's guidance.
- The tumbler manual or model details
- Chipped stones and intact stones from the same batch
- A way to estimate the load level, plus any notes about noise
- Small stones or suitable tumbling media only if the instructions allow them
The listed barrel capacity is not necessarily the same as the weight of rocks you should load. This guide to barrel capacity versus rock weight explains that distinction.
Our Top Picks
How can you narrow down the cause?
Work through these checks before restarting the damaged batch. Begin with the damage, then inspect the loading and the stones themselves. A crashing sound or chipped edge can point you toward a cause, but treat each observation as a clue rather than a verdict.
Step 1: Pause and examine the damage
Set chipped stones beside intact ones from the same batch. Note whether many stones have fresh chips or only a few do. A pattern across the load makes loading worth checking; damage concentrated on a few stones gives you a reason to inspect those pieces closely.
Step 2: Check the barrel load
Compare your load with the instructions for your specific tumbler. RockTumbler.com's Thumler's MP-1 rotary tumbler demonstration describes about two-thirds full as its ideal level and says a load below about half full can toss rocks around and chip them. Treat those figures as specific to that demonstration, not a rule for every machine.
Step 3: Look for sparse cushioning
Check whether a few large rocks had few smaller pieces between them. With fewer contact points, impacts can concentrate on individual stones. RockTumbler.com explains that smaller rocks or ceramic cylinders can add contact points and cushion a load. Use media only if it suits your rocks and follows your tumbler's guidance.
Step 4: Inspect the rough
Look for cracks, layers or other signs that a stone may be fragile. Fractured or layered rocks can break or chip as they tumble, even if the rest of the batch looks fine. If only some stones are damaged, inspect those pieces, but do not treat that pattern as proof that the whole rock type is unsuitable.
Step 5: Change one factor first
Pick the adjustment that best fits what you observed: follow the model's loading guidance, add suitable cushioning if allowed, or set aside rough with visible fractures. Avoid changing the load and rock selection at the same time. A single change makes the next run more informative.
What mistakes make diagnosis harder?
Treat one fill number or one damaged stone as a clue, not a full diagnosis. A barrel's nominal capacity does not tell you the rock-only load, and adding media is not guaranteed to protect every kind of rough. Change one plausible factor at a time so you can tell whether the next result differs.
- Treating one fill percentage as universal. Use the instructions for your model; nominal barrel capacity also does not tell you the rock-only load.
- Assuming every chipped stone is defective. Inspect for fractures or layers, but consider the loading and cushioning too.
- Adding media without checking compatibility. Media does not guarantee protection for every rock type or loading setup.
- Changing several things at once. Adjust one plausible factor so you can tell whether the next result differs.
If you are separating rock types into different batches and need another vessel, the Tumble-Bee TB-22 Kit includes two rubber barrels, each listed with a nominal 2 lb capacity. That is not a stated rock-only maximum, and the listing does not establish that the kit prevents chipping.
What do common chipping clues suggest?
The sound and pattern of the damage can point to what to check next, but neither identifies the cause with certainty. If rocks crashed, check the load against your machine's instructions. For more guidance on that sound, see why a rock tumbler may be noisy.
The rocks crashed loudly in the barrel
A sparse load may let rocks collide more forcefully. Check your manual's loading guidance and compare it with the actual load before running another batch. Loud crashing is a clue to investigate, not proof that underfilling caused every chip.
A few stones chipped, but others stayed intact
Inspect the damaged pieces for cracks, layers or fragile structure. Some rough can be more vulnerable than the rest of a batch. The pattern gives you a reason to examine those stones, but it does not establish that their type cannot be tumbled.
Many stones chipped in a sparse load
Check for concentrated impacts and too little cushioning, then compare the barrel with the maker's loading instructions. A few large rocks leave fewer contact points, which can concentrate impact. Smaller pieces or suitable media may help distribute those impacts, but the right choice depends on the rocks and tumbler.
The evidence does not point to one cause
Keep the damaged stones out of another run until you have checked the setup and rough. For more specific advice, note the tumbler model, rock type, approximate load, media and tumbling stage. Without those details, there is no sound basis for naming one definite cause.
Related guides
- Leegol 3LB rock tumbler review 2026 · A practical Leegol 3LB rock tumbler review covering the single barrel, included supplies, missing polishing compound, buyer fit and alternatives for hobbyists.
- Choosing a rock tumbler kit by included grit 2026 · Choosing a rock tumbler kit by included grit means checking named stages, grades, per-stage amounts, and machine fit before treating a bundle as ready to use.
- Best rock tumblers for hobby lapidary 2026 · Compare the best rock tumblers for hobby lapidary by barrel setup, controls, included supplies and upkeep to find a practical fit for your batches.
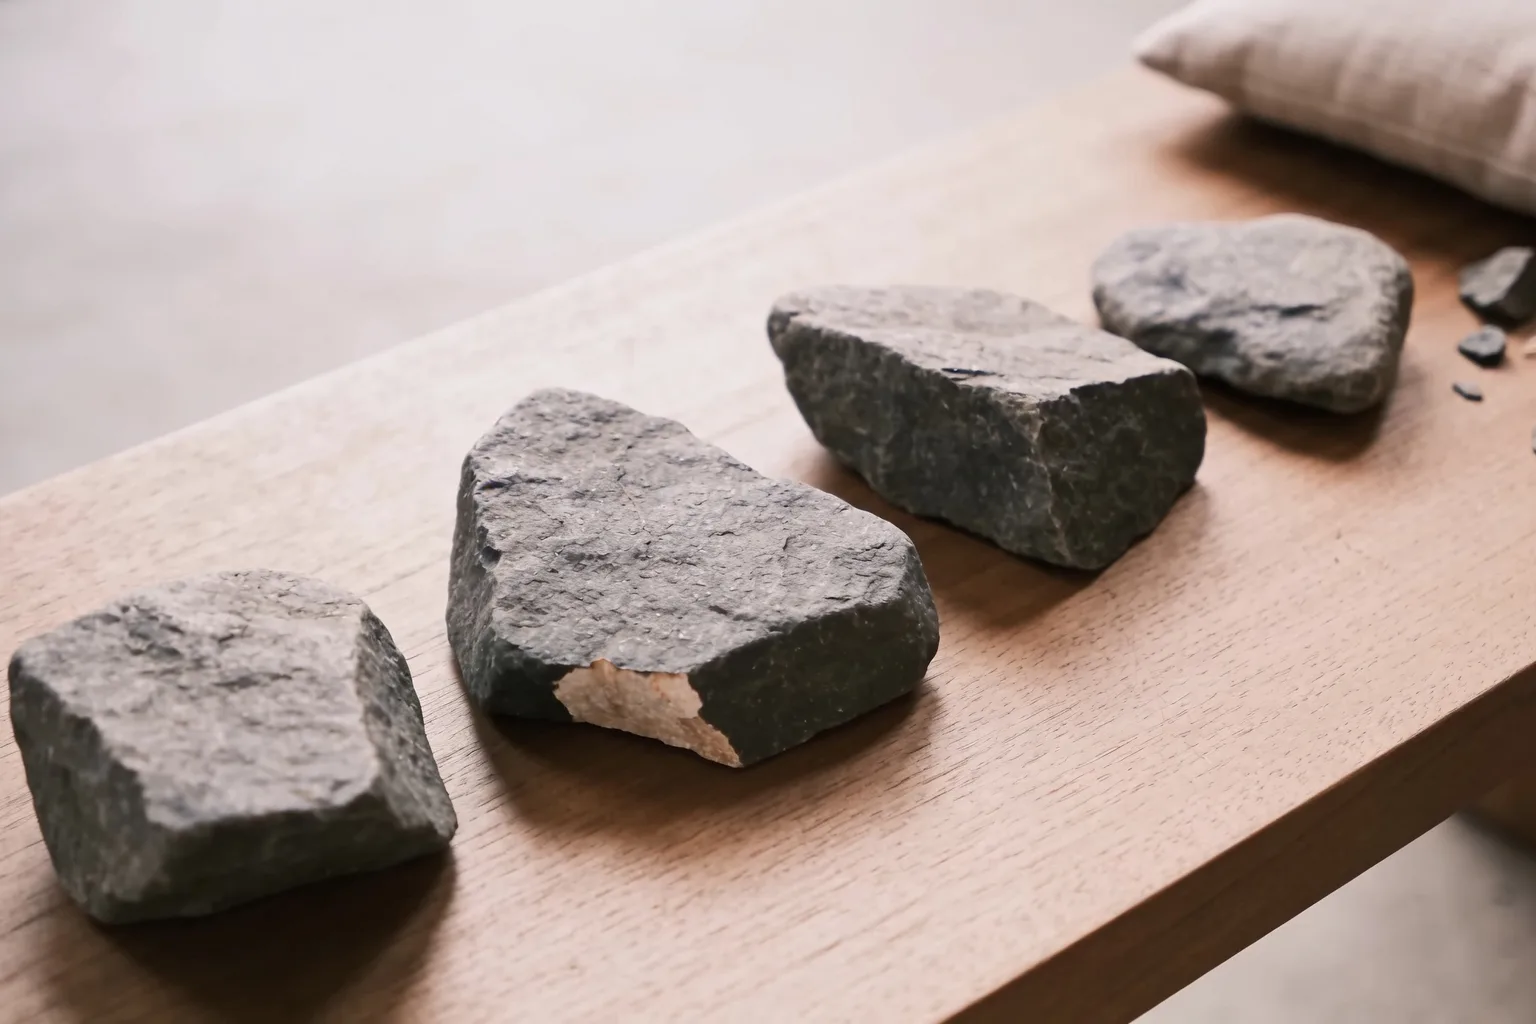
Frequently asked questions
Can an underfilled rock tumbler make stones chip?
Yes, an underfilled barrel can let rocks move and collide more forcefully. RockTumbler.com describes this in a demonstration using a Thumler's MP-1 rotary tumbler, but its fill figures are not universal. Check your own tumbler's instructions before changing the load.
Can rocks chip because they have cracks or layers?
They can. Cracks and layered or fragile structure may make individual stones more likely to break or chip as they tumble. Inspect chipped and intact stones from the same batch, but treat what you find as a clue, not proof that every stone of that type will fail.
Does adding tumbling media prevent all chipping?
No. Smaller stones or suitable media can add contact points and cushion impacts, but that does not guarantee protection for every rock or tumbler. Check the machine's instructions and consider whether the media suits your rock type before adding it.
Should I run chipped rocks through the tumbler again?
Inspect them and the rest of the batch first. Check the load, cushioning and rough for visible fractures, then decide whether another run makes sense. If you restart, change one likely factor at a time and follow the loading guidance for your specific tumbler.